Self Portrait |
Exhibition Text
|

|
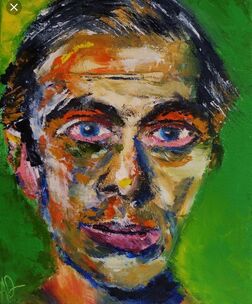
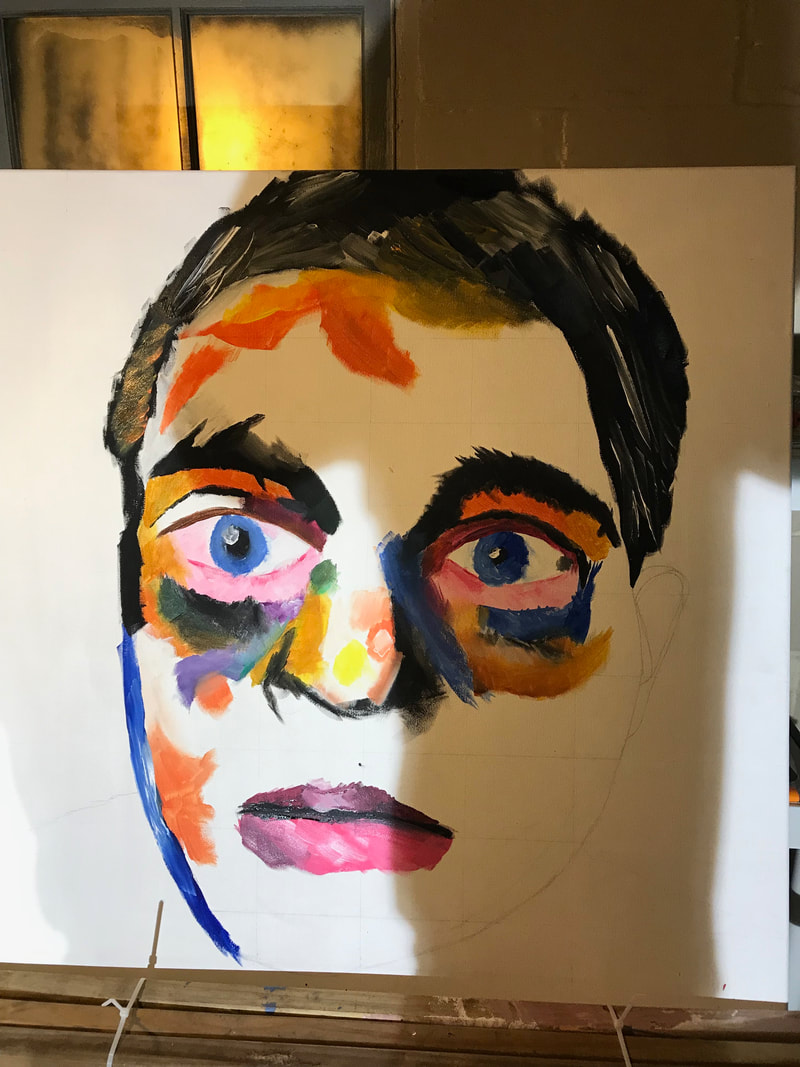
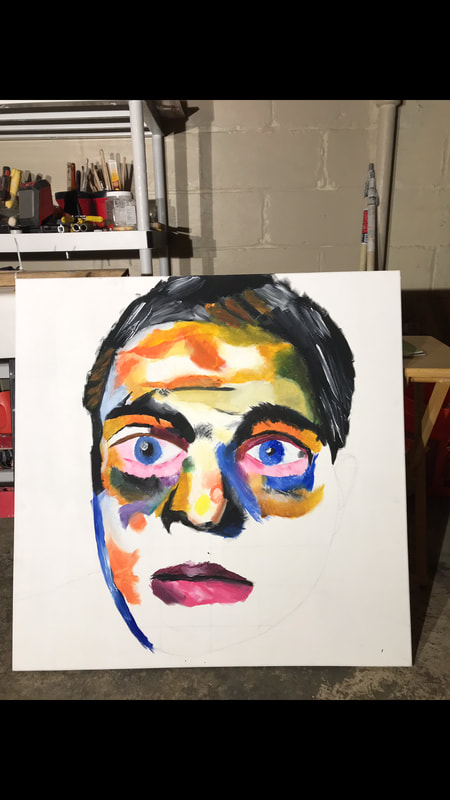
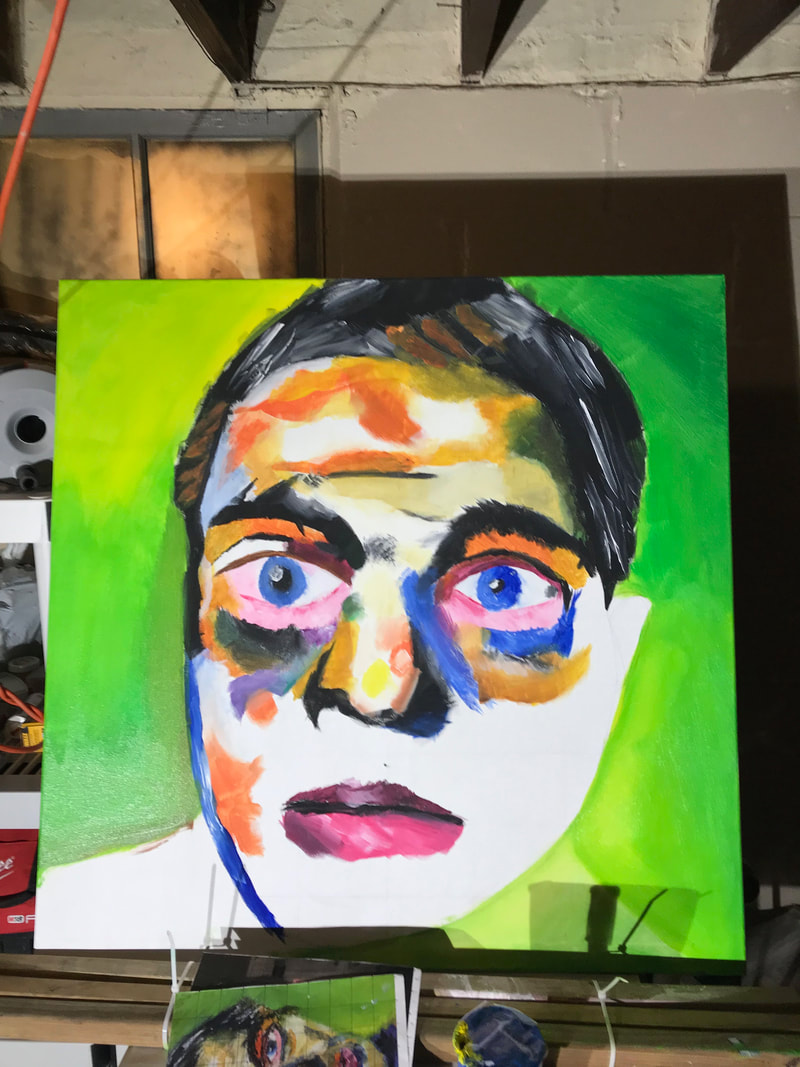
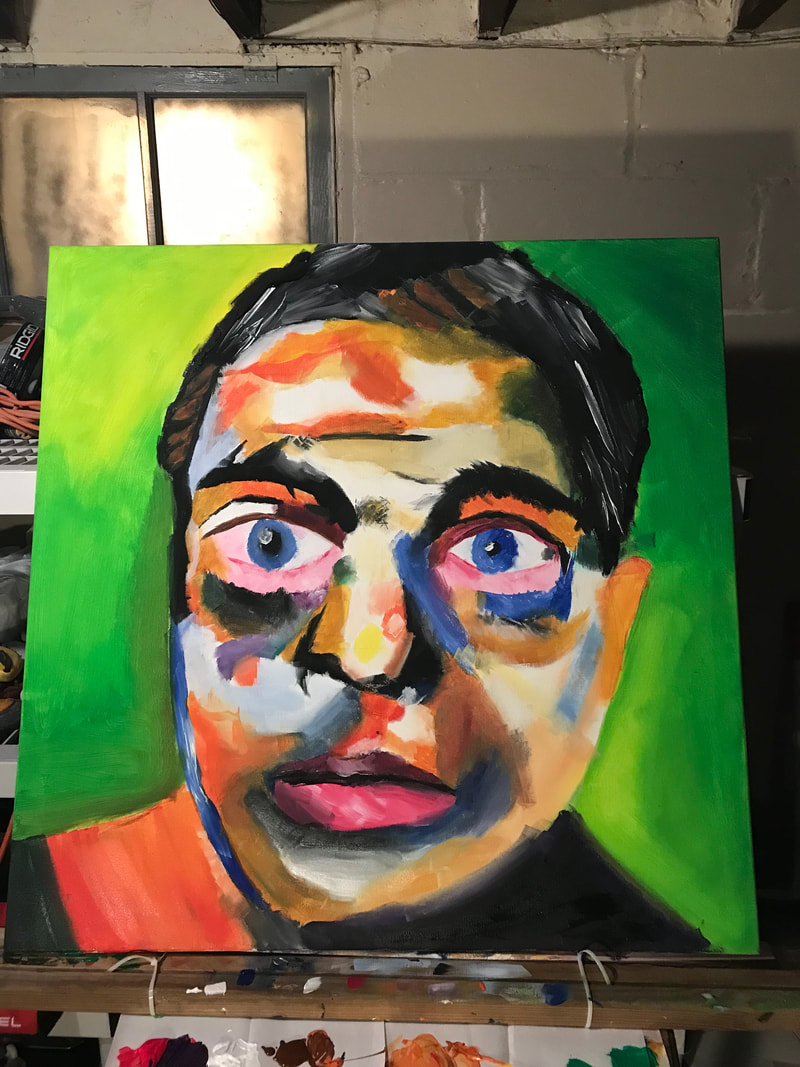
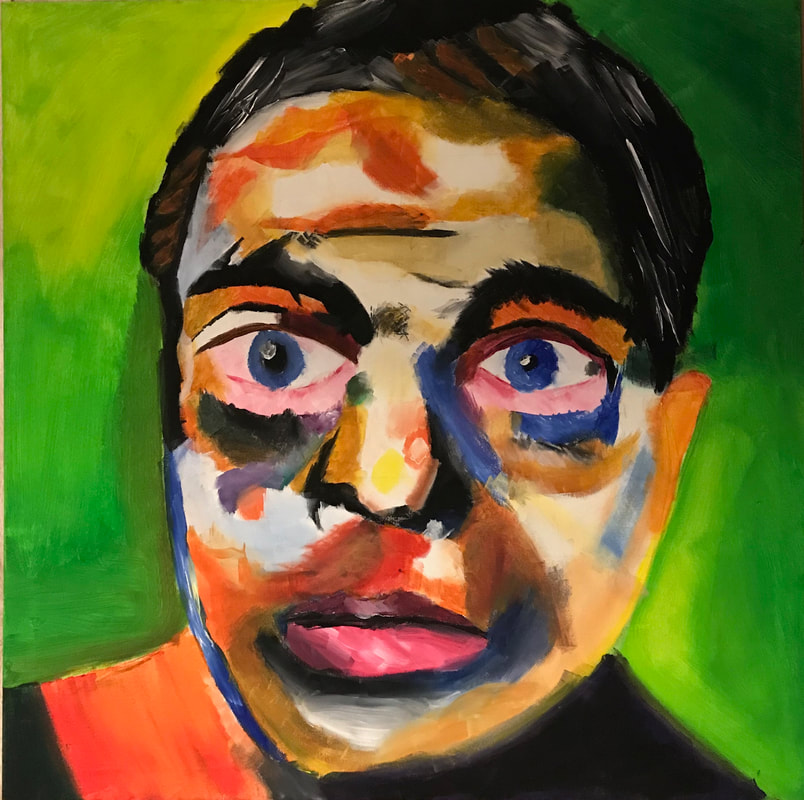
Title: Self Portrait
Size: 36in x 36in Medium: Acrylic Paint on Canvas Date: 4/5/19 |
My self portrait is based on my two inspirations which are different paintings by the same artist. "Self Portrait" by Ernst Ludwig Kirchner and "Fränzi in front of Carved Chair" also by Ernst Ludwig Kirchner. My self portrait is inspired by the variety of color in "Self Portrait," by Ernst Ludwig Kirchner, which is what Kirchner is known for expression through variety of color. My piece is also inspired by the simplistic style of shape and line to form a figure in "Fränzi in front of Carved Chair."
|
Inspiration
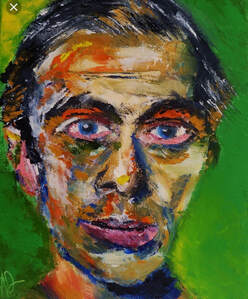
Self Portrait by Ernst Ludwig Kirchner
“Ernst Ludwig Kirchner Self Portrait Giclee Canvas Print Paintings Poster.” EBay, www.ebay.com/itm/Ernst-Ludwig-Kirchner-Self-Portrait-Giclee-Canvas-Print-Paintings-Poster-/223025500044. 
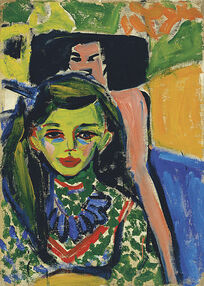
Fränzi in front of Carved Chair by Ernst Ludwig Kirchner
Kirchner, and Ernst Ludwig. “Fränzi in Front of Carved Chair.” Museo Nacional Thyssen-Bornemisza, 1 Jan. 1970, www.museothyssen.org/en/collection/artists/kirchner-ernst-ludwig/franzi-front-carved-chair. |
There are two inspirations that influenced the creation of my self portrait, both were by the same artist. The first inspiration being "Self Portrait" by Ernst Ludwig Kirchner and the second one being "Fränzi in front of Carved Chair," also by Kirchner. Formal elements from these inspirations that influenced my piece were mainly color, line, balance, contrast and shape. "Self Portrait" by Ernst Ludwig Kirchner was the first inspiration that influenced my work. "Self Portrait" by Kirchner composes of a self portrait of him, in which he uses many colors to depict him, such as a variety of blues, greens, reds and etc. The main formal elements that I took from the inspiration and composed it to my self portrait would be color, balance and contrast in color. This pieces heavily influenced my work, they are similar but have there differences. Many of the colors in my self portrait are similar to that of Kirchner self portrait I used a similar base color for the background and similar color of reds, orange, blues, yellow and other hues for the majority of the face. Overall for these inspiration I used components of color. My second inspiration being "Fränzi in front of Carved Chair," by Kirchner. "Fränzi in front of Carved Chair," was created in 1910 and is a good example of the technique that Kirchner uses when he was in the group the Bridge. "Fränzi in front of Carved Chair," is a depiction of a women in which Kirchner uses simple shapes and color to depict and portray the portrait. Components that influence my work from "Fränzi in front of Carved Chair," would be line, shape and color. The shape in my piece and in "Fränzi in front of Carved Chair," used organic and curvaceous shapes, line that was flowing, simple and in some places thick or thin. Color in "Fränzi in front of Carved Chair," also influenced my work. Overall both inspirations were crucial for the creation of my self portrait. |
Planning Sketches
There are two sketches that sketched out since this was a self portrait and when creating my self portrait I didn't really need to sketch out much since I would be using the grid method and that involves a picture in this case of me, that I would be replicating on to a big canvas. The picture used is on the far right.
|

|
|
|
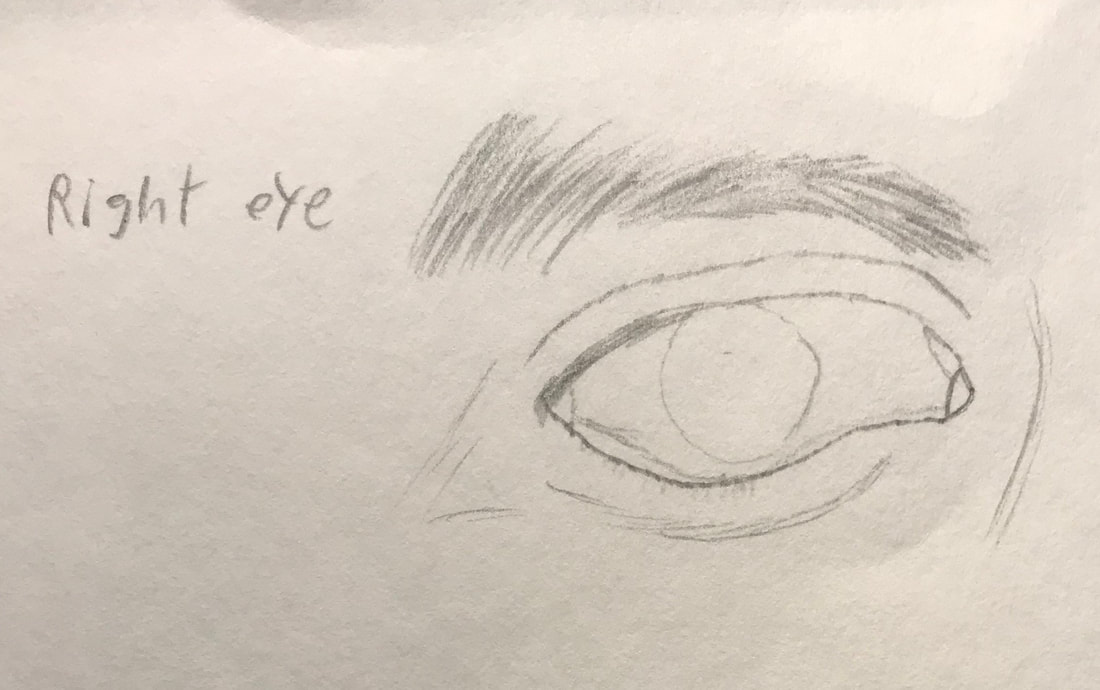
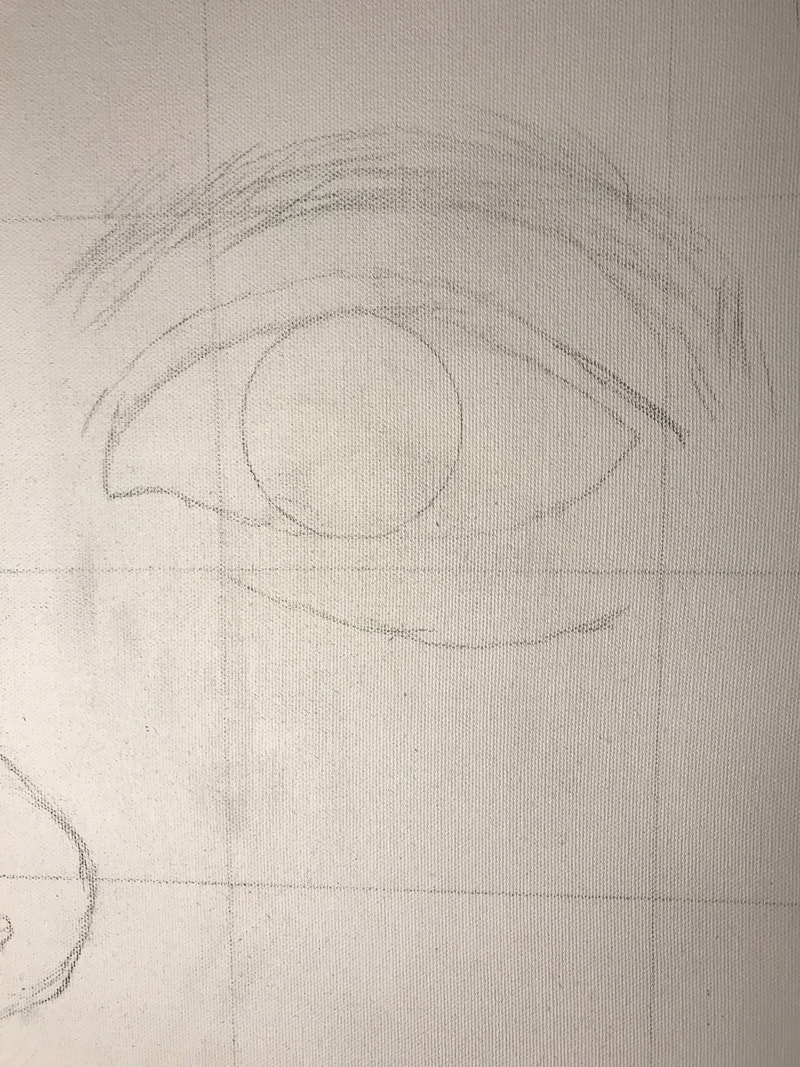
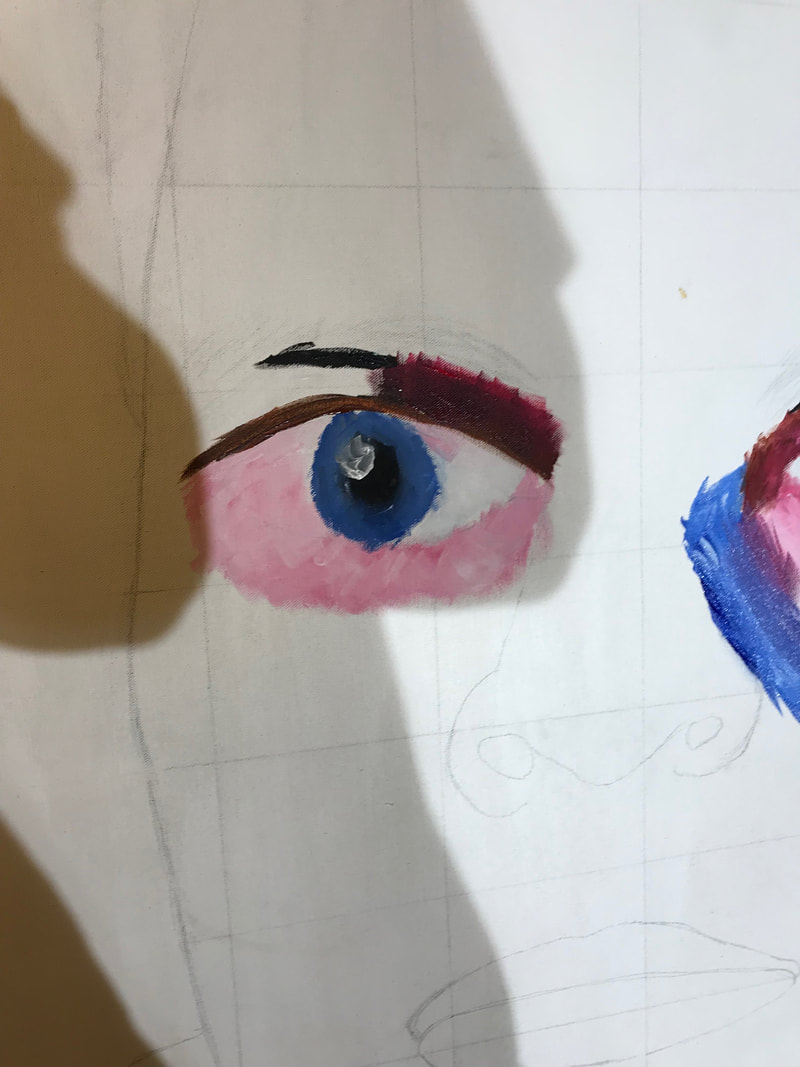
Here is a sketch of my right and left eye, in which I sketched out to get an idea of how I would go about replicating my eyes in general since they were the most challenging to draw onto the canvas. This is a sketch of a detailed eye of mine and I replicated this to my canvas.
|
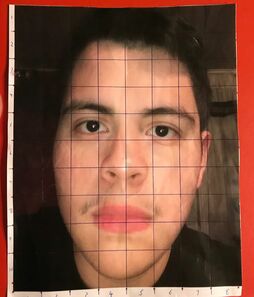
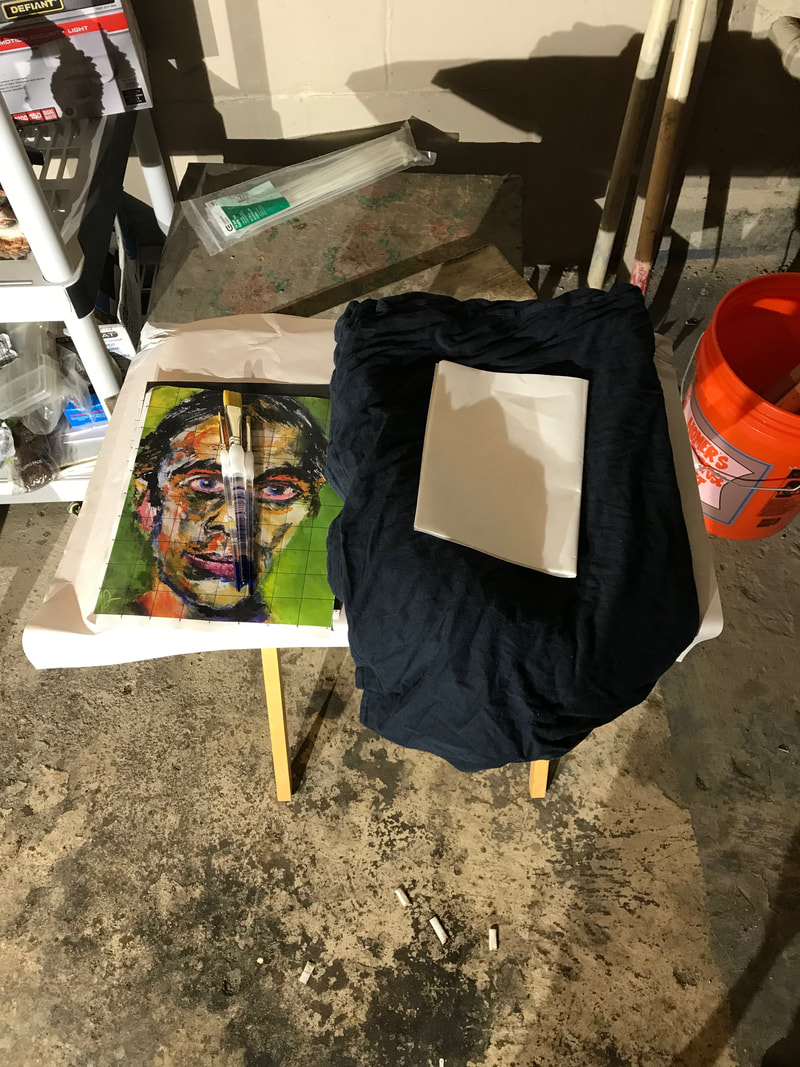
Here the image that I used to copy my image onto the canvas.This is a grided out image that has the same amount of squares that my canvas has.
|
Construction of Canvas Process
|
|
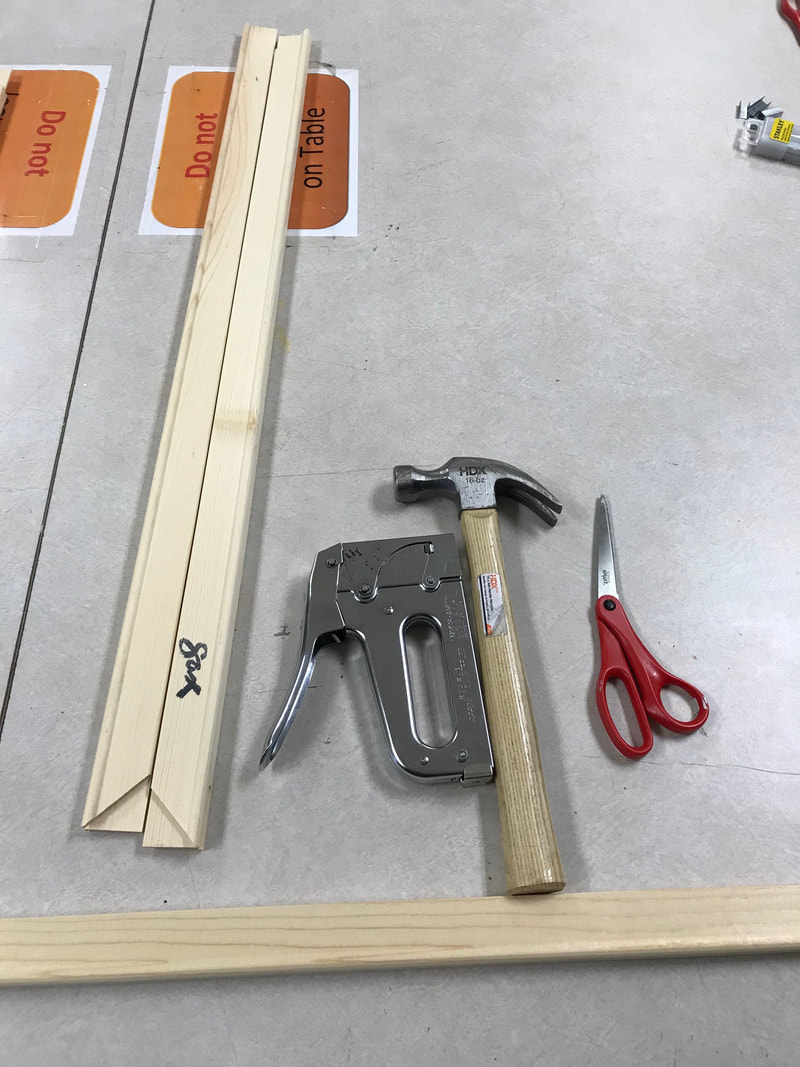
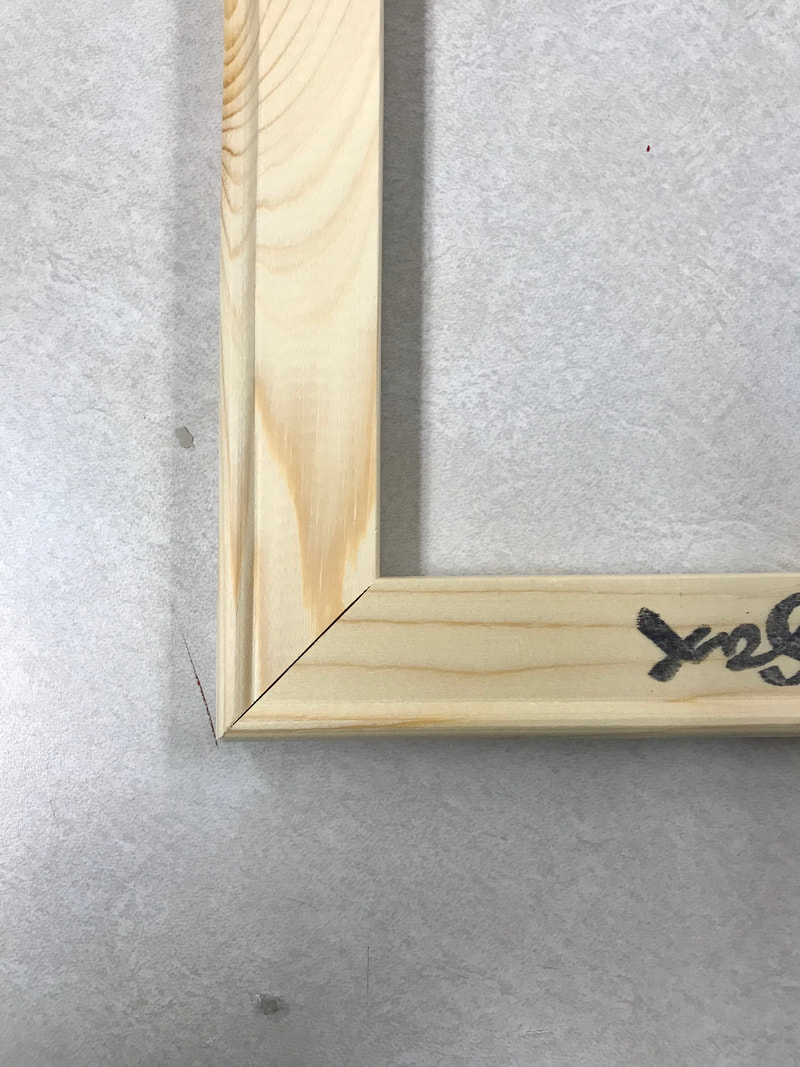
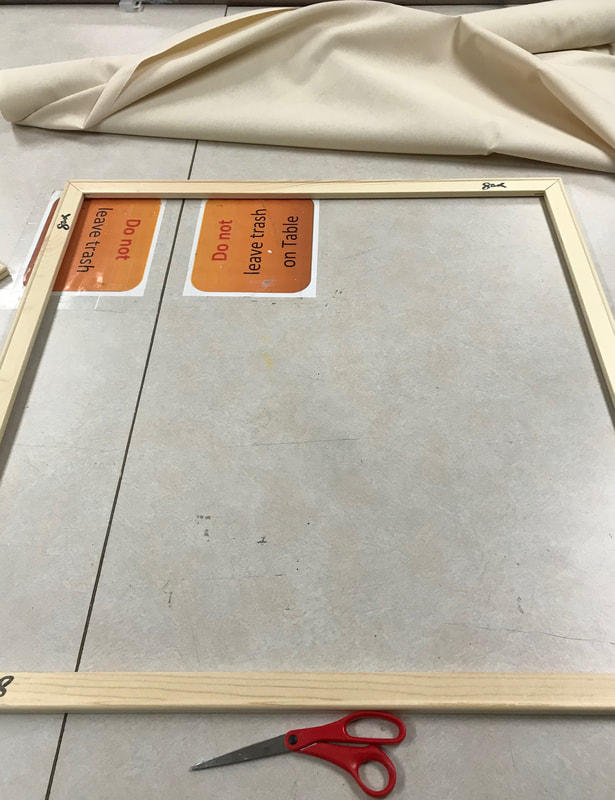
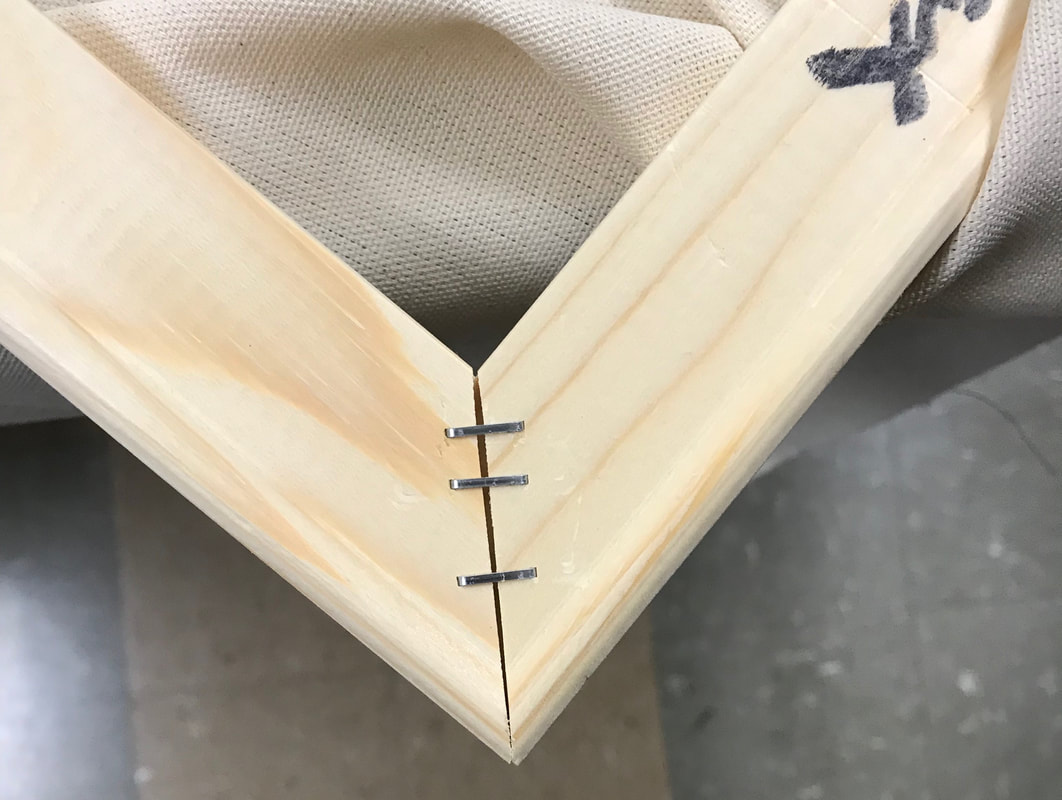
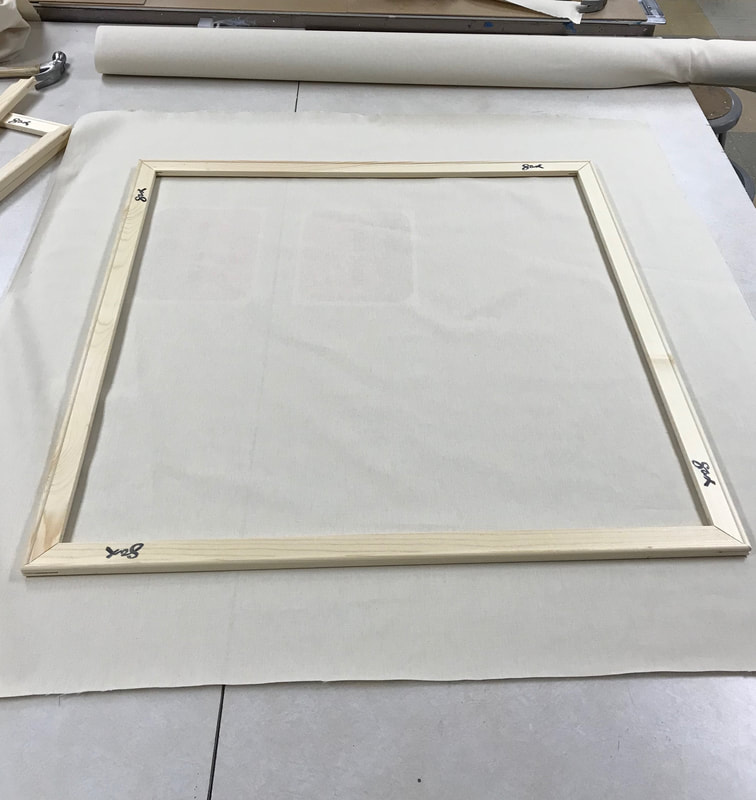
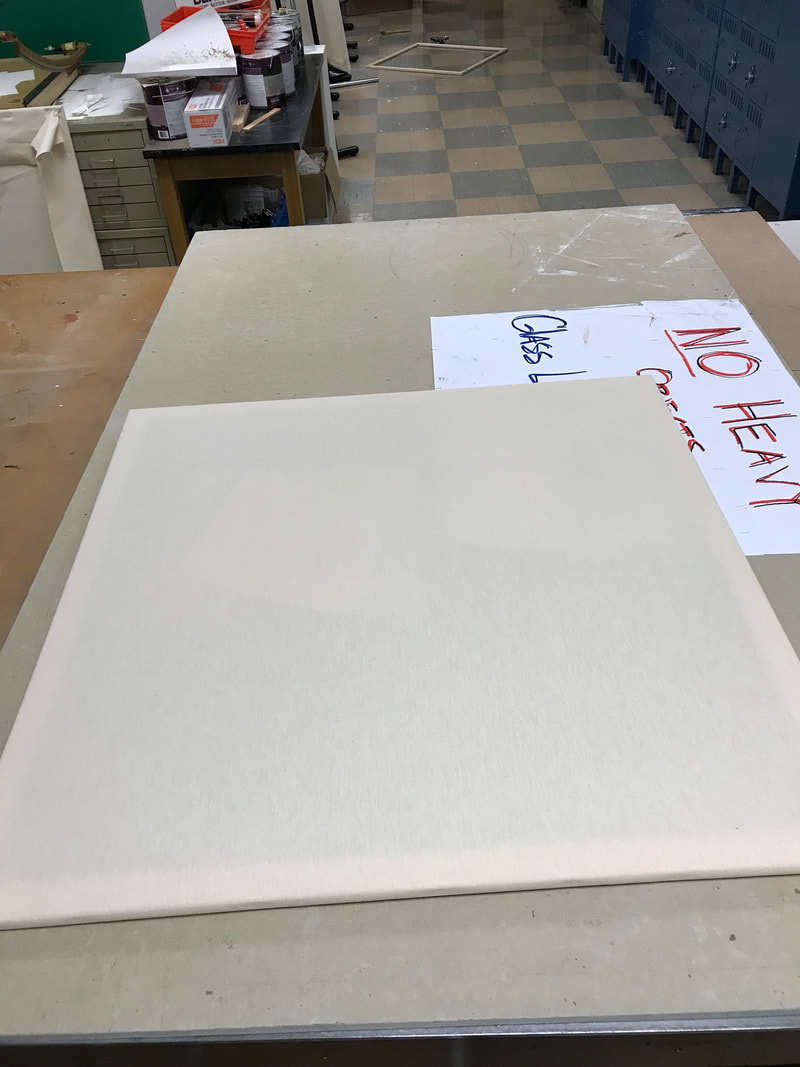
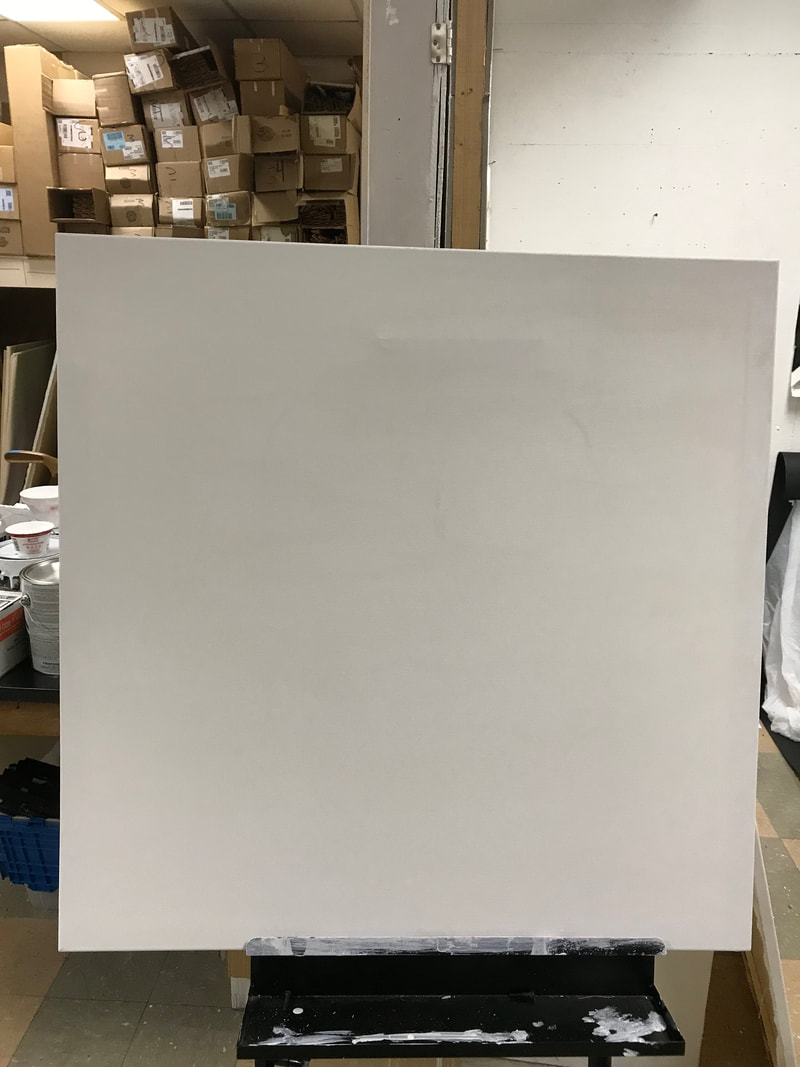
The very first step to crating my self portrait is to first create the canvas. The canvas I put together was a 3 feet by 3 feet canvas. The first step was to gather all the material I will need in order to create my canvas. That includes 4 stretcher bars, staple gun, hammer, scissors, gesso and a role of cotton canvas. Once setting all of the material out, I first armed the 4 stretcher bars together, creating a square. Then with the staple gun I put three staples in to each corner of the square securing it. |
|
|
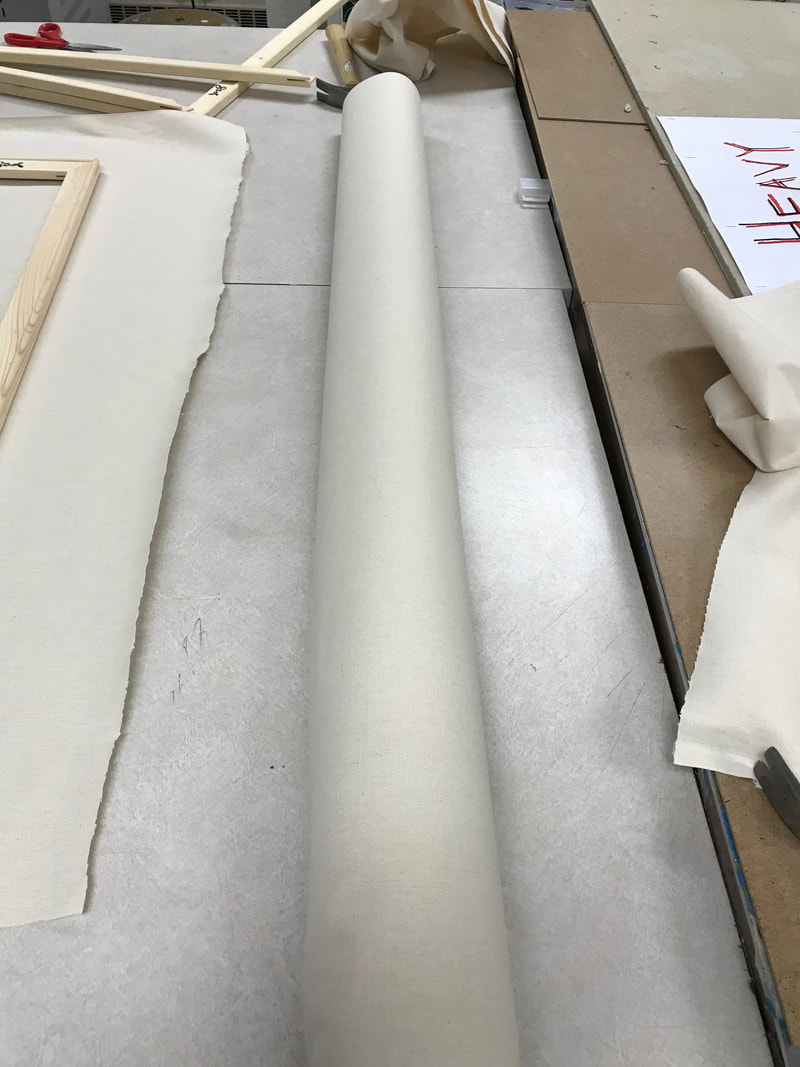
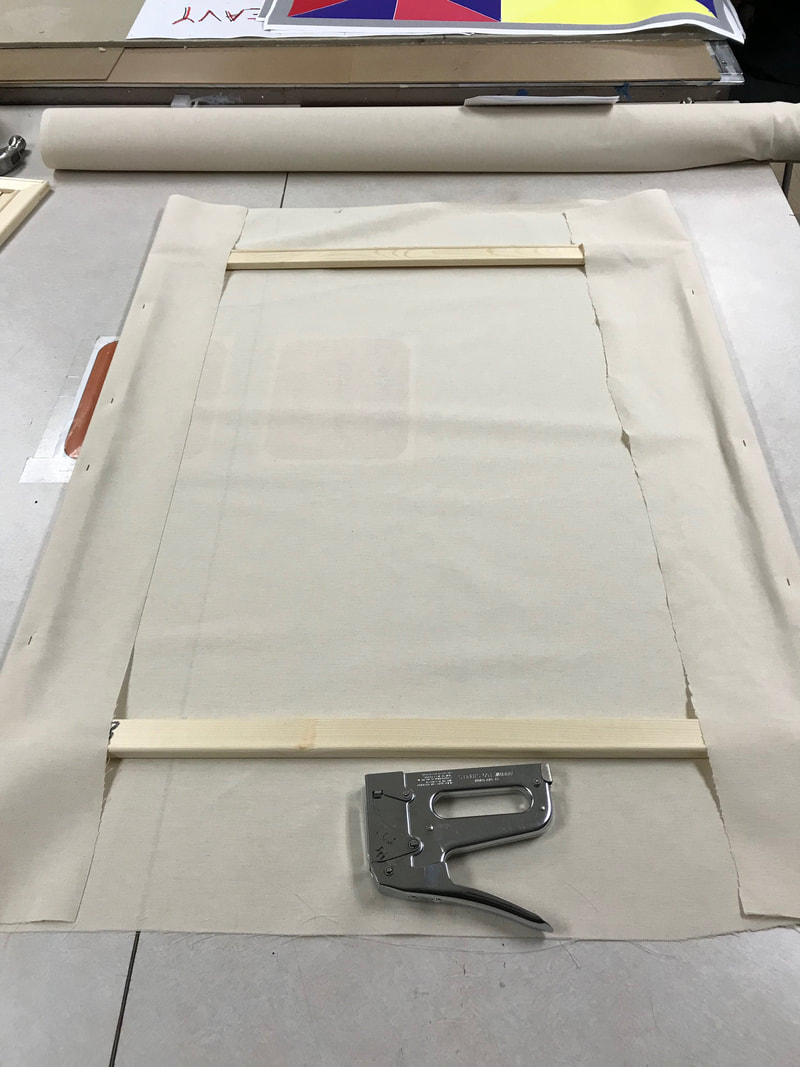
After securing the base of the canvas I then rolled out the canvas, placed the armed stretcher on to it to measure how much I canvas I will need to cut. I cut about 5 to 6 inches away form the stretcher of each side making the rolled canvas about over 4 feet by 4 feet.
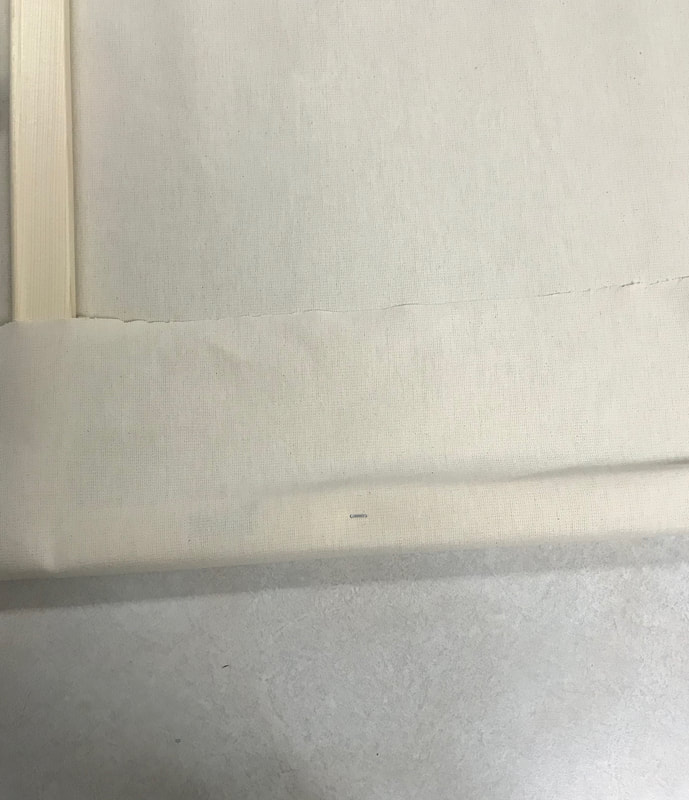
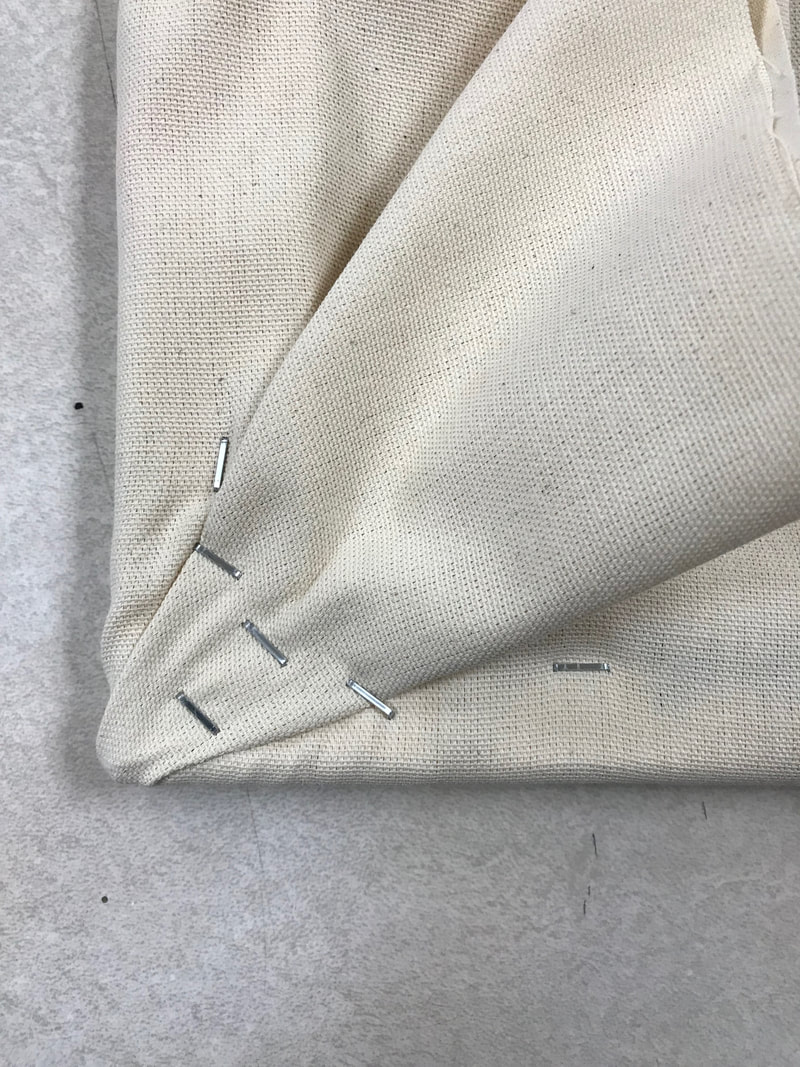
After cutting the canvas I then folded each side over the stretchers putting 3 staples in each side. The three staples were just to securing for now. After that I then made sure the front side of the canvas was tight enough and not very loose. |
|
|
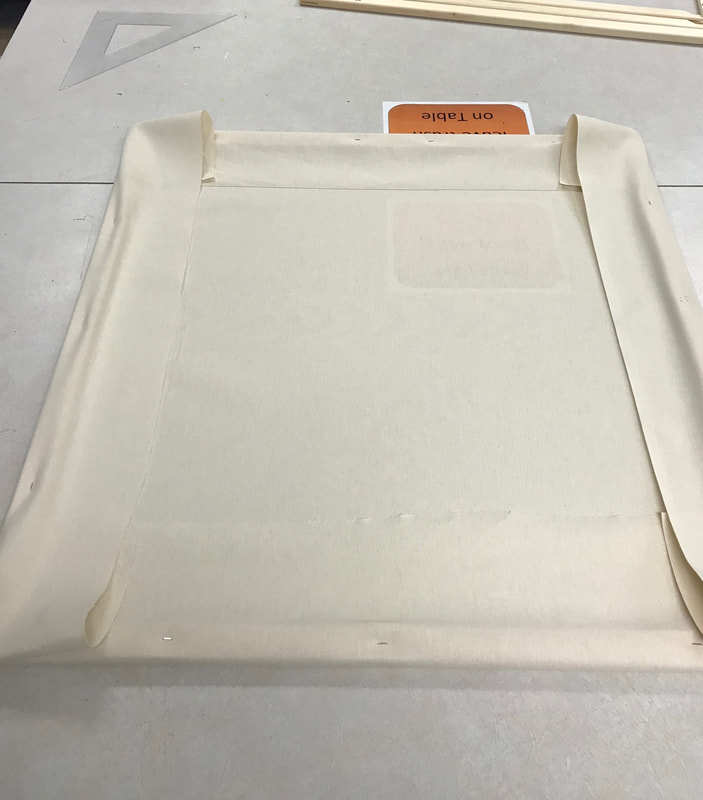
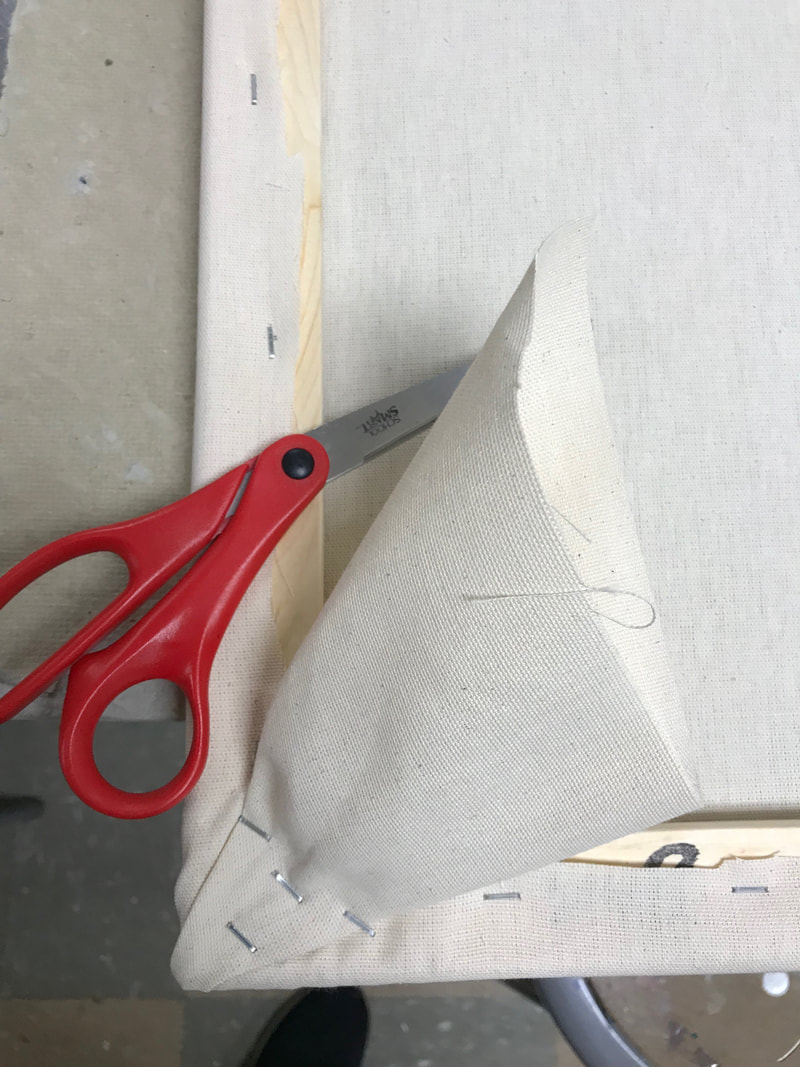
The next step was to cut the excesses canvas I was not going to use, so I did with the scissors. After cutting the excesses cloth I was left with a bit of canvas in the corners of the stretcher, so what I did was grouped the excesses bunch of canvas with my hand, put four staples into to lower part of it to secure it and then cut the excesses bit of canvas straight off. |
|
|
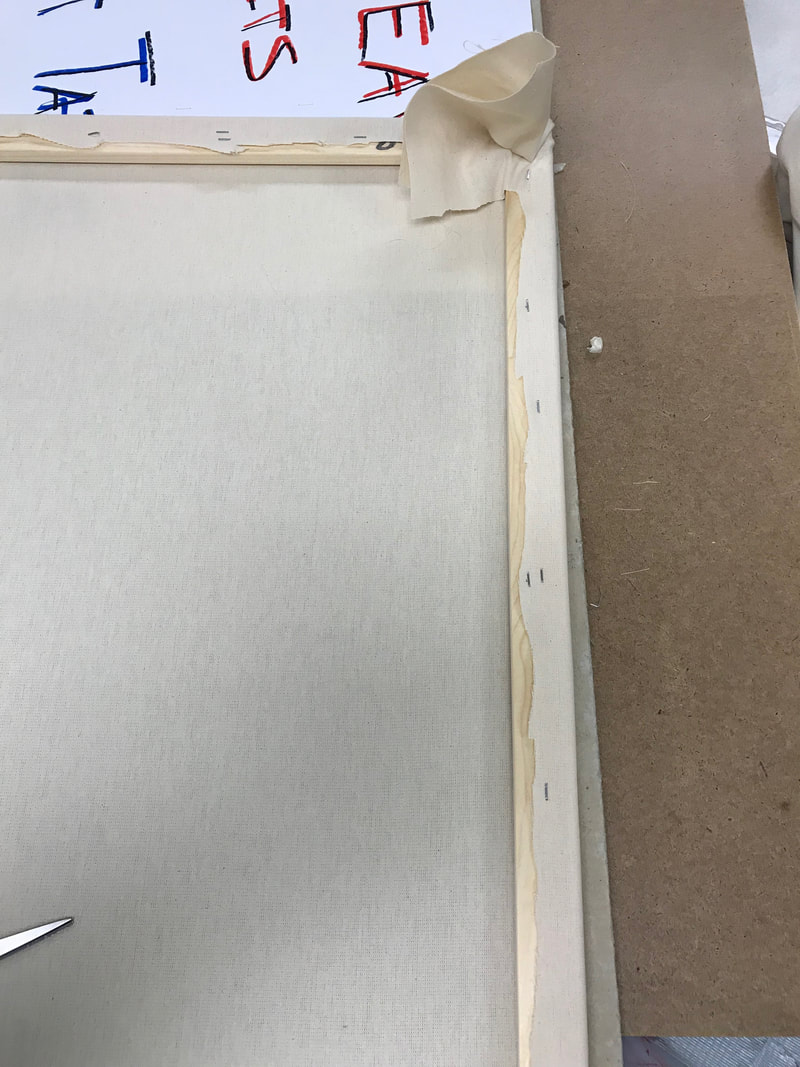
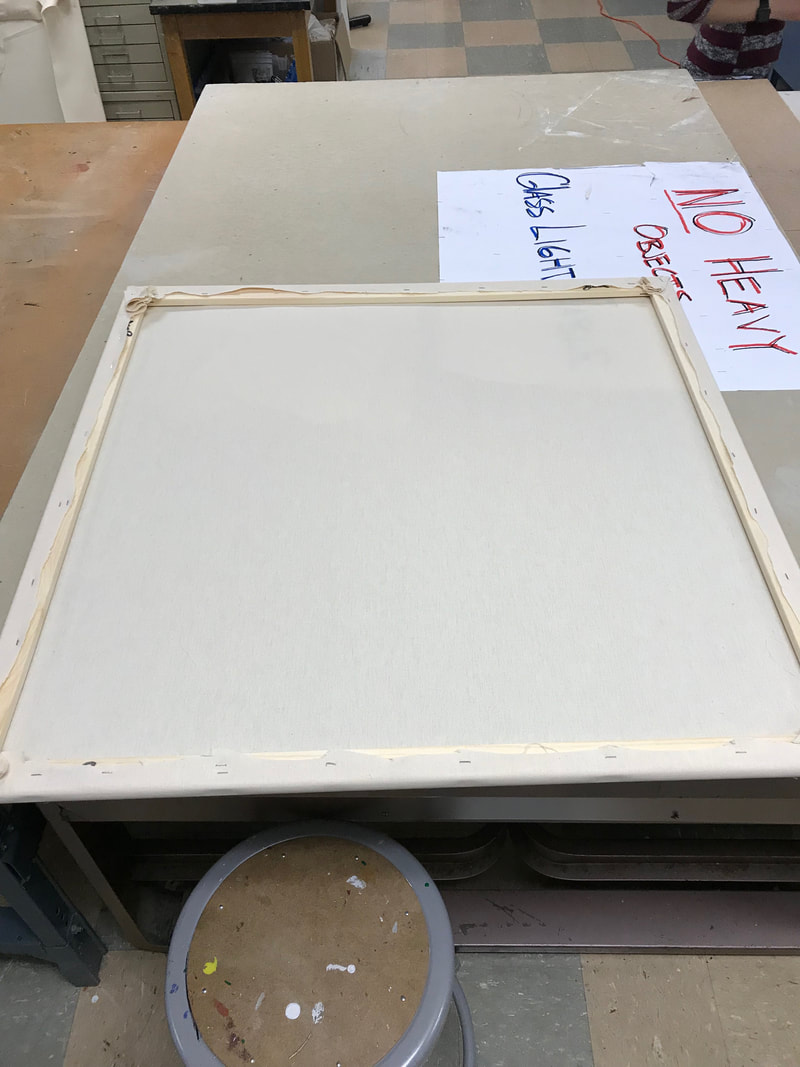
Next was to add the renaming staples to the back of the canvas to secure it for good. I then cleaned off the little string bits of canvas that was left behind, then I was ready to add the gesso.
|
Process For Painting
|
|
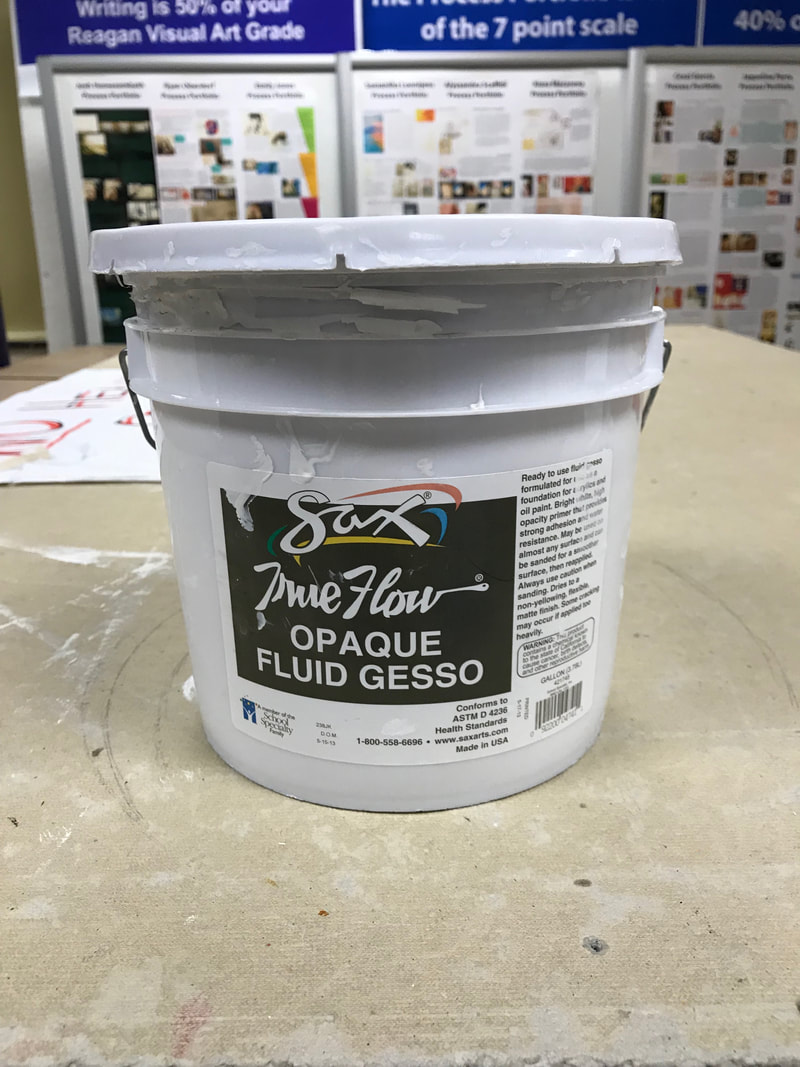
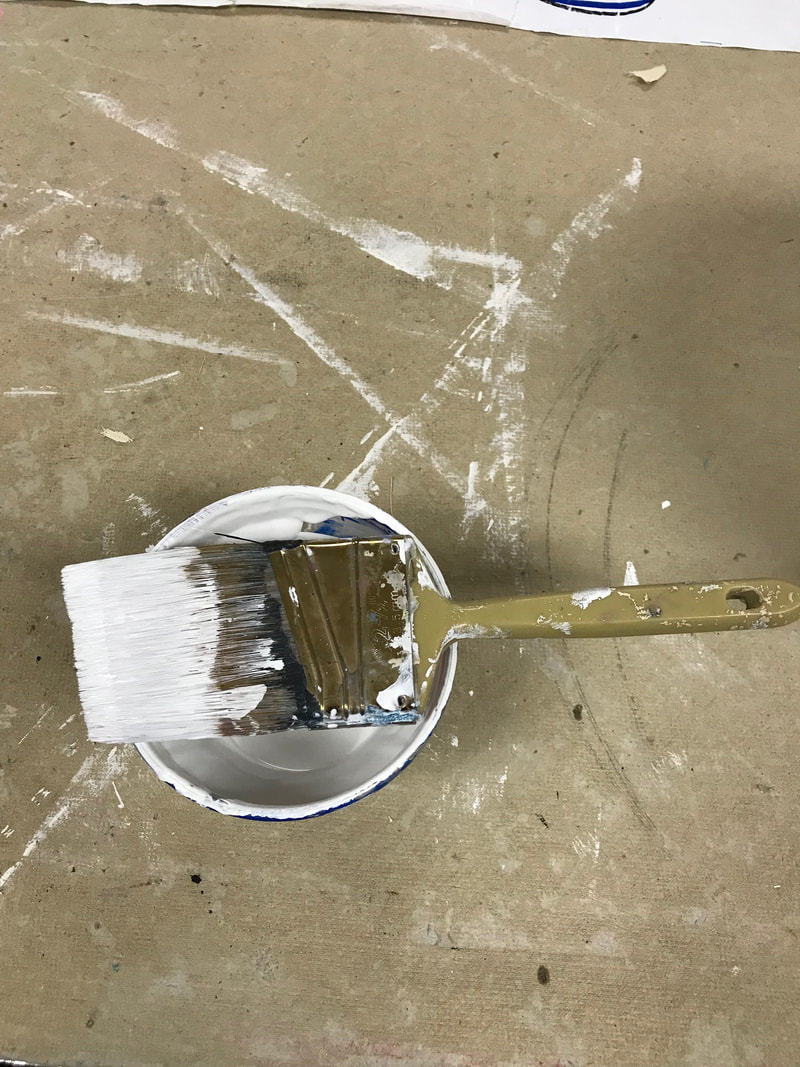
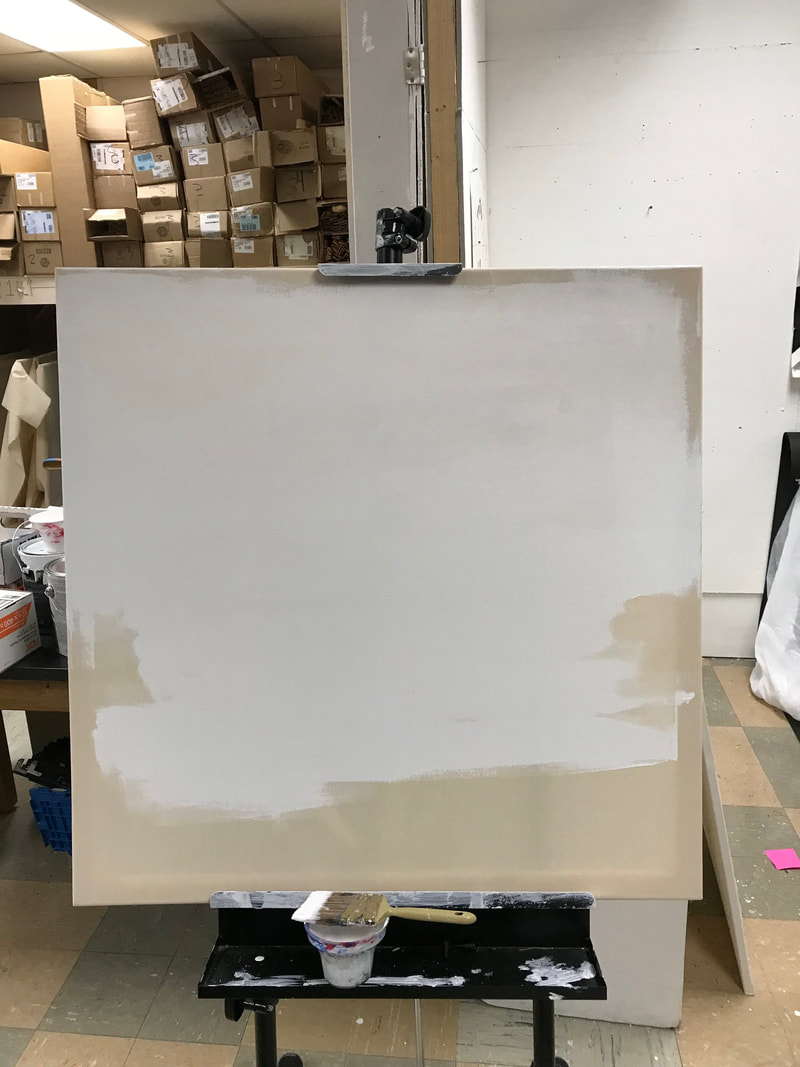
The next step was to gesso the canvas so for that all I needed was the gesso, a brush and a cup to put the gesso in. I set my canvas onto a stand, to secure my canvas while I put gesso onto it.
I poured gesso into a cup, then with the brush I started to put gesso onto it from left to right. When gessoing up my canvas I made sure that I got every bit of canvas with the gesso. I let the gesso sit for a day to dry, once dried I was ready to grid my image on to the canvas. |
|
|
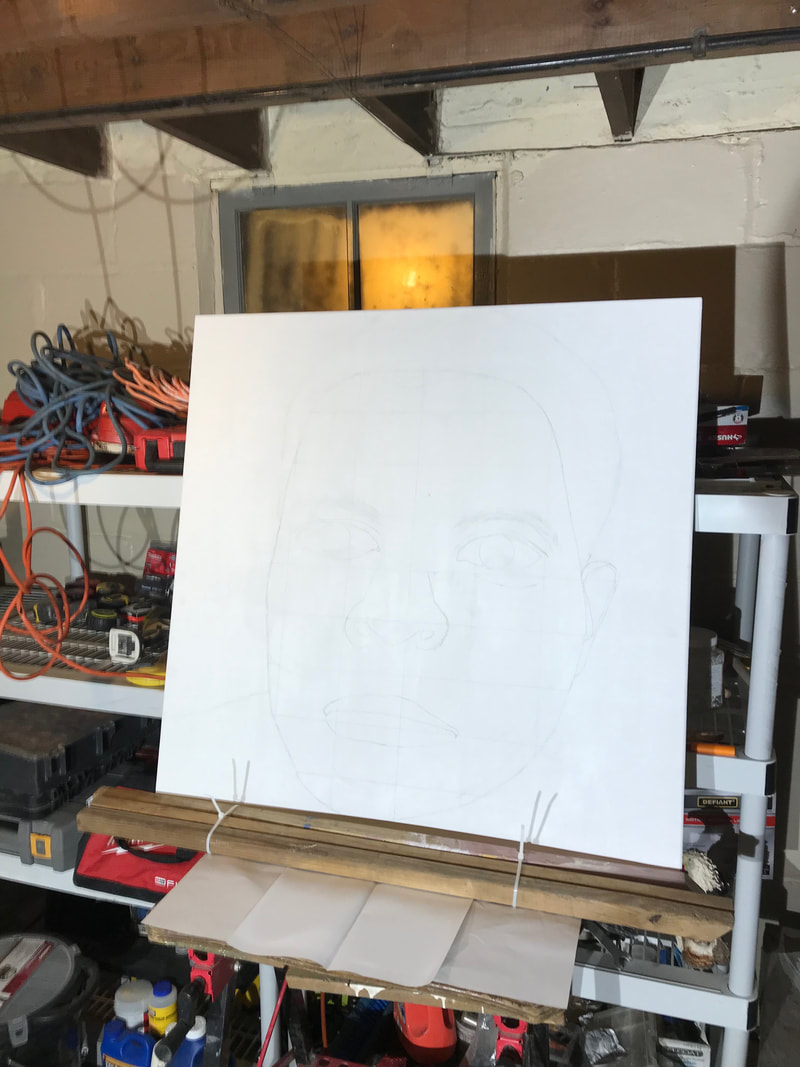
The first step I took for griding my image onto the canvas was to lay out all of the material I was going to use, which included a ruler, pencil, marker and the printed image I was going to use.
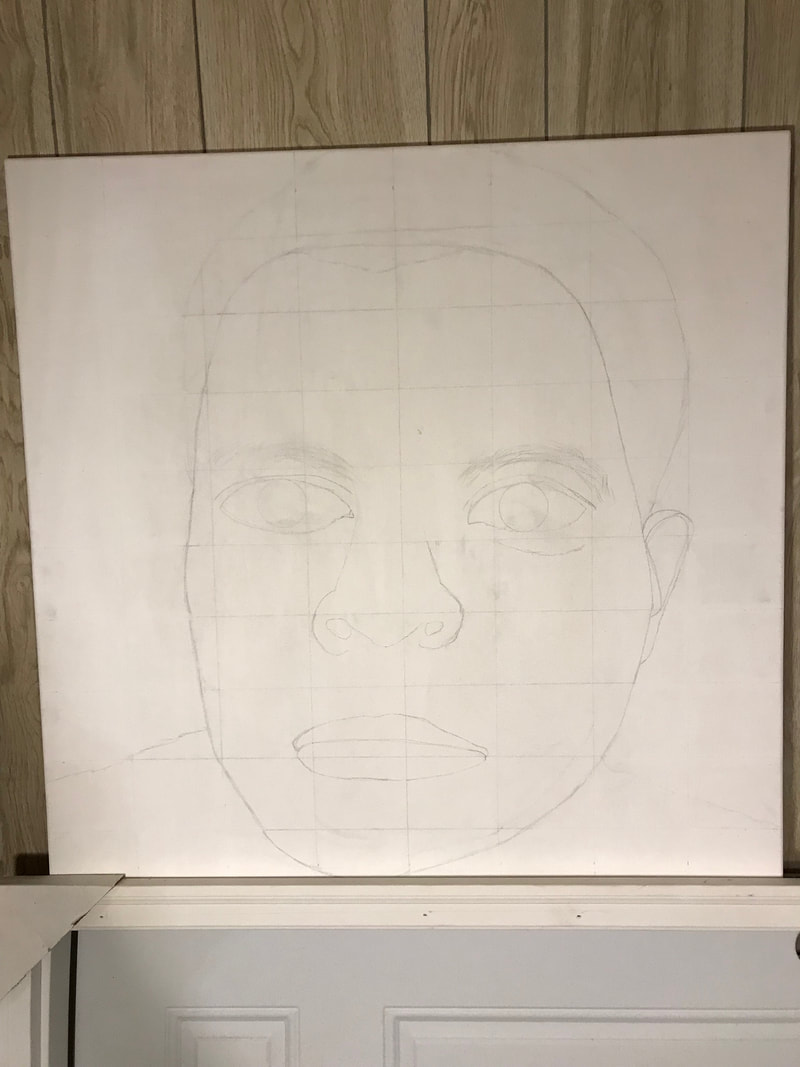
After that I first started to grid my image that I printed out on a regular 11 inch by 8 inch paper. I made sure that each square was even. Next I grided the canvas and for that I did some conversions to have the same proportional number of squares on my canvas that I have on my smaller grid, then with a big ruler and pencil I grided the canvas. Next I started to draw my image on to the canvas starting with the shape of my head, hair, ear, then I started with the inside. First my eyebrows, then eyes, nose and lastly my lips. |
|
|
Next after the griding process I was ready to paint. I gathered all of the material I will use, this includes, 3 paint brushes, wax paper, long sheets of paper, a cloth, bucket of water, paint, image to use as reference and lastly a stand to hold my canvas.
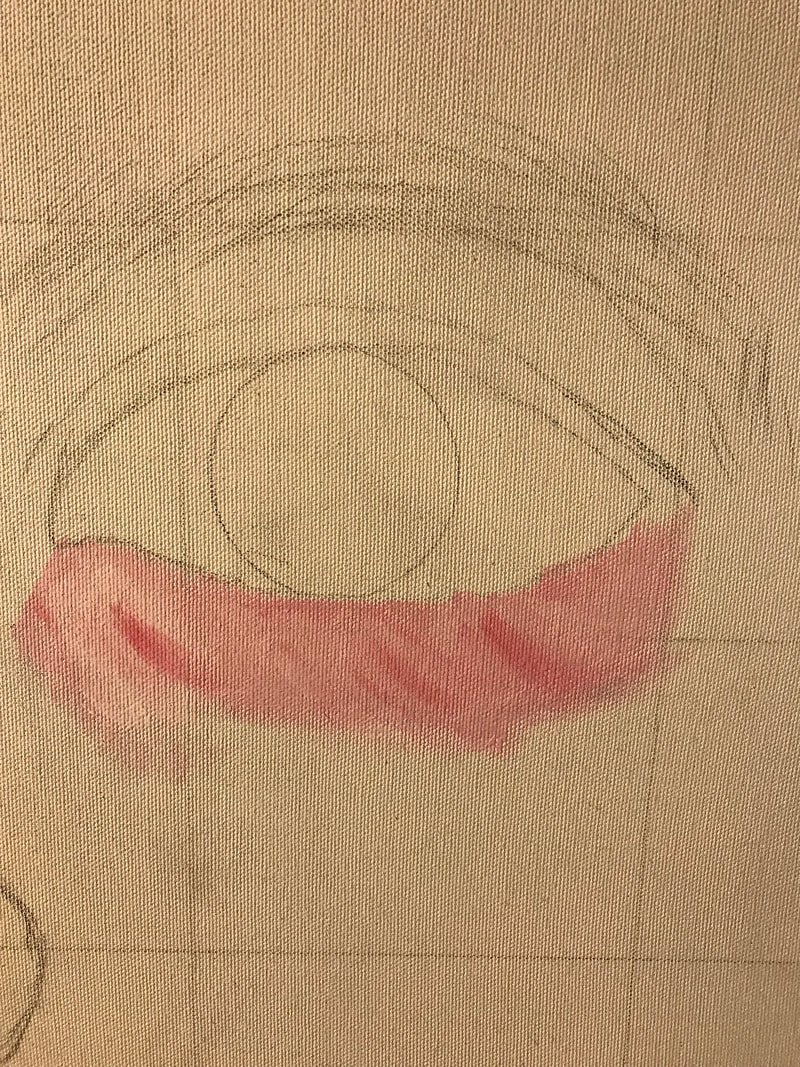
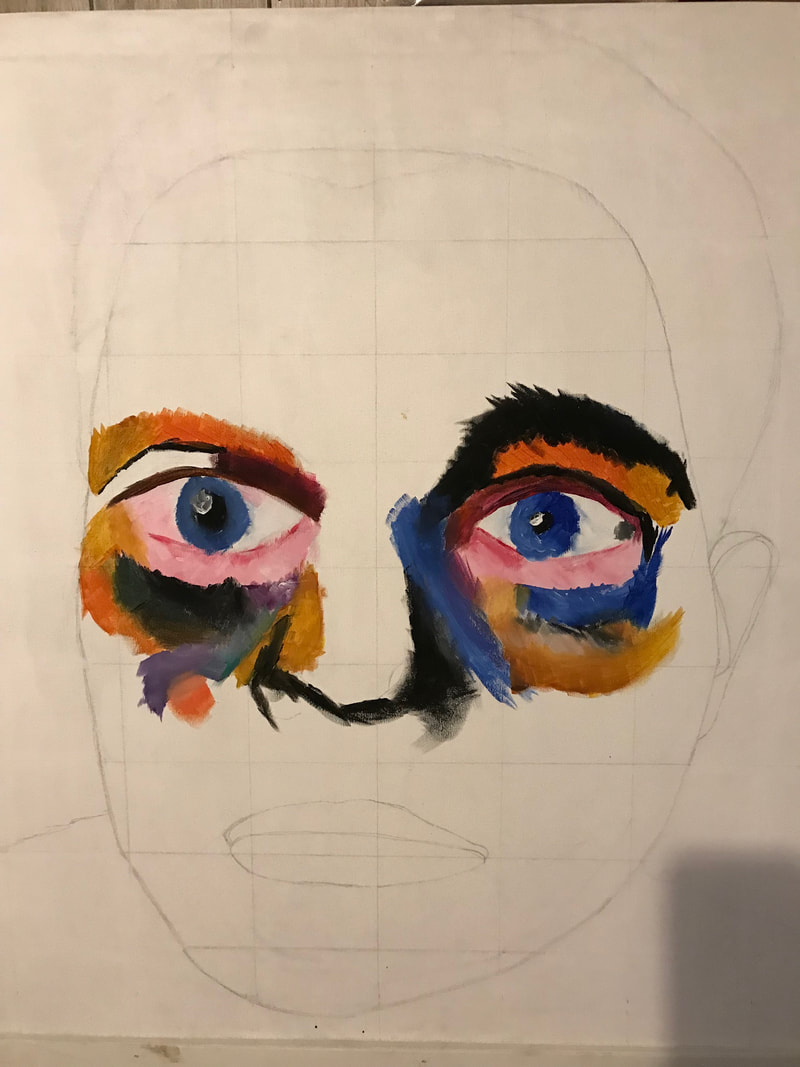
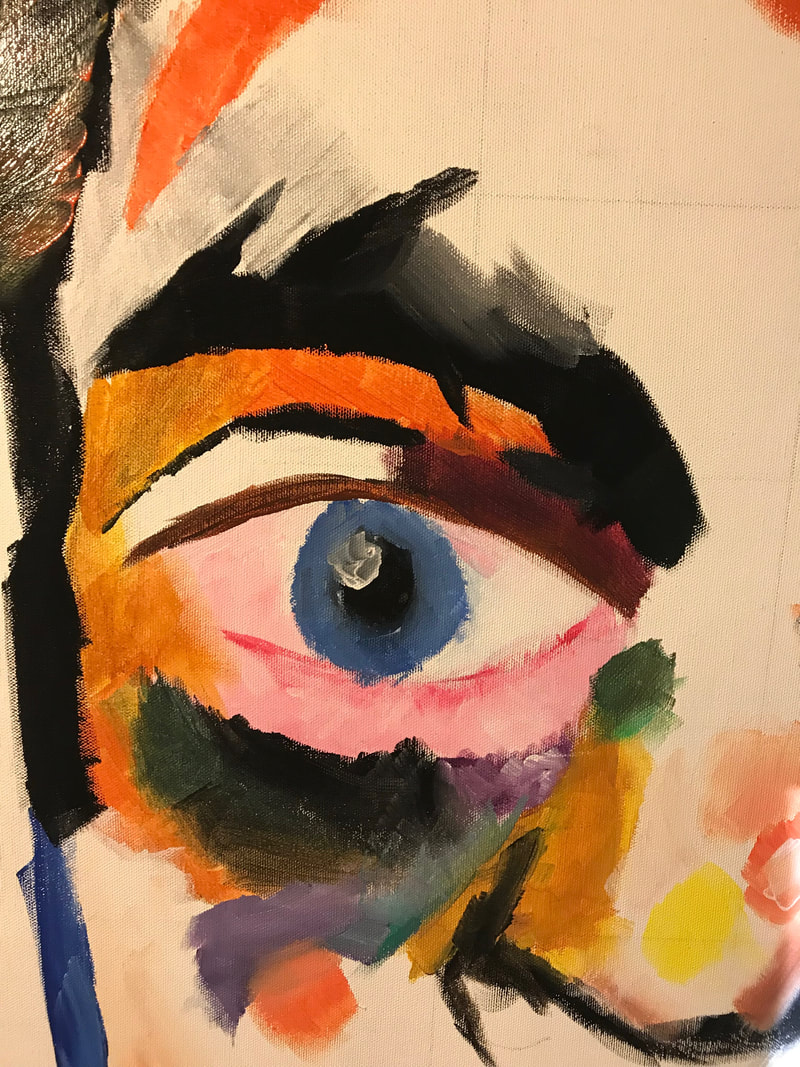
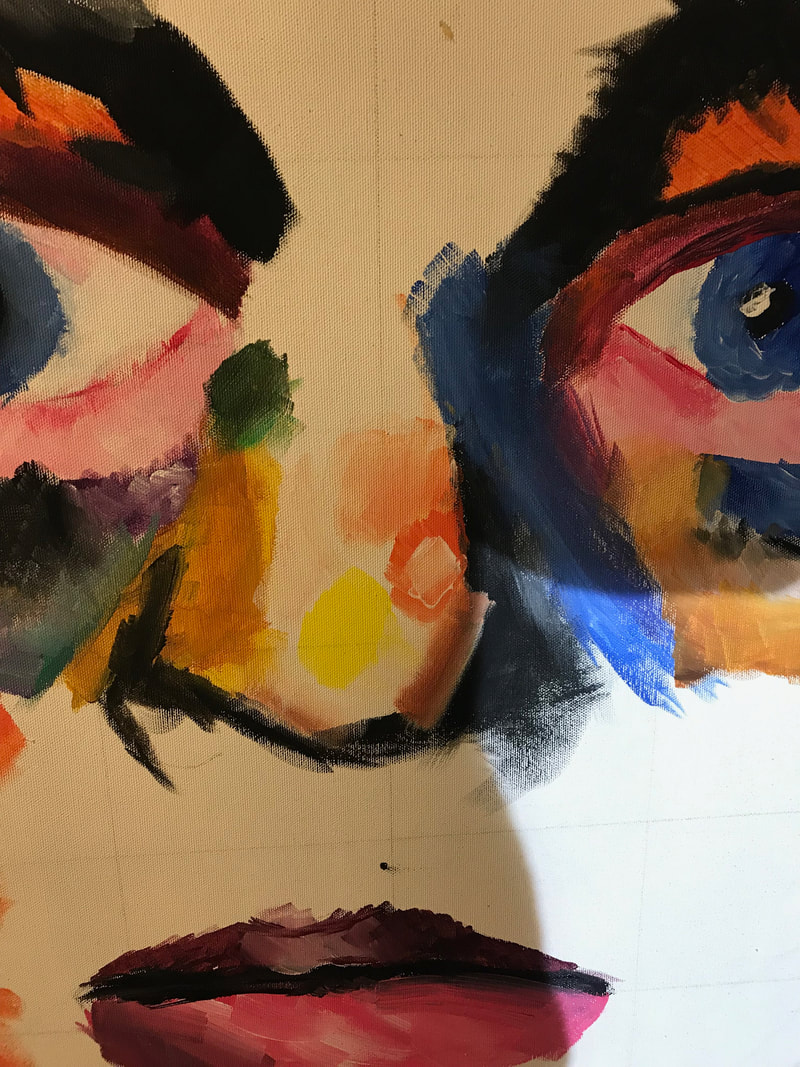
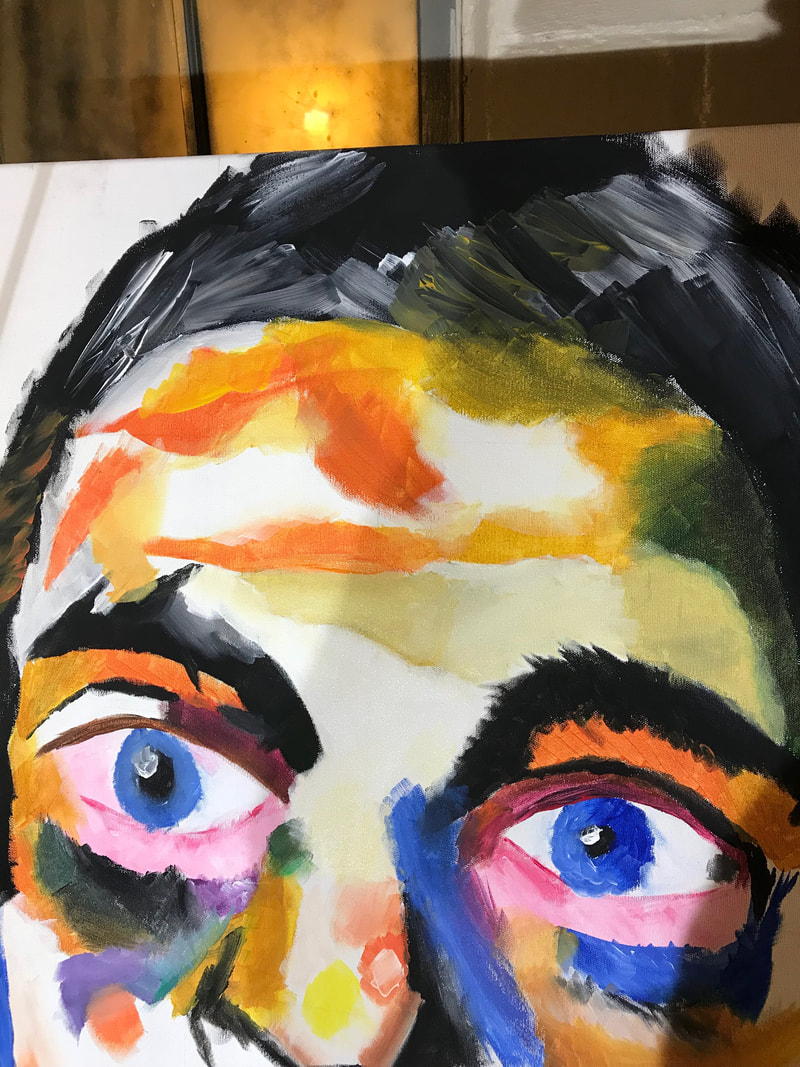
The first place I started to paint was the eyes. I started with painting under the eye, I mixed white with pink to get the light pink I was looking for. Next I worked on the eyeball, for the center I used black mixed with very little blue, I then worked on the outside mixing blue and white to get the some what sky blue. Next I worked further up the eye, mixing many colors such as red, black and red to get the violet color in the upper eye.I then mixed yellow and red to get orange for the upper eye, then I creating the eyebrow, black with a little white. |
|
|
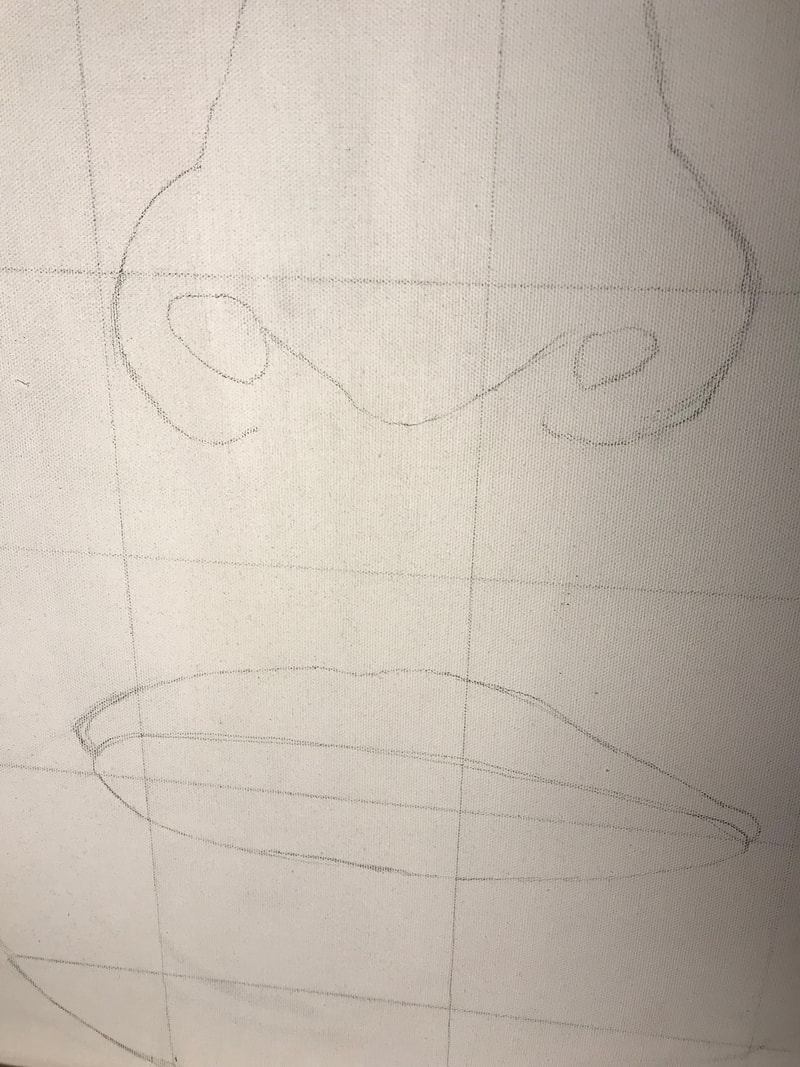
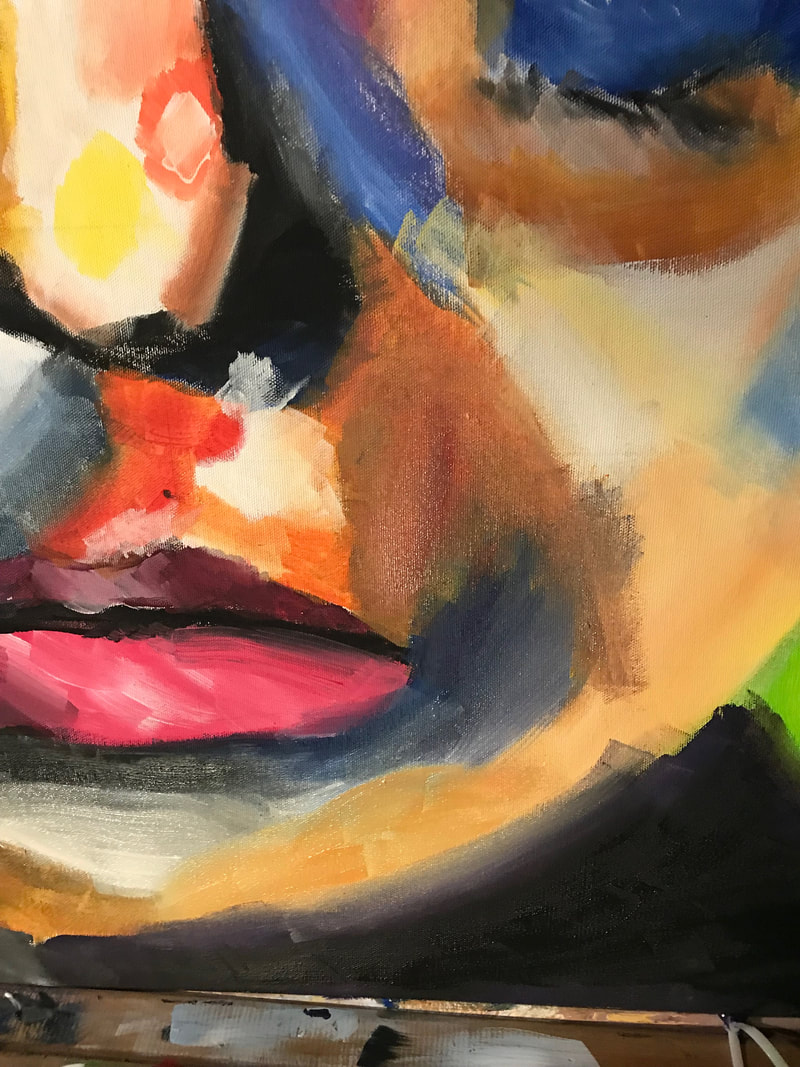
After finishing both eyes I moved on to the nose. For the nose I used the hues, orange, yellow, green, white, blue, and black. First mixing black with a little white for the outside of the nose, then for the inside I used orange and yellow on the left side, orange and blown with white for the right side then for the center yellow and white.
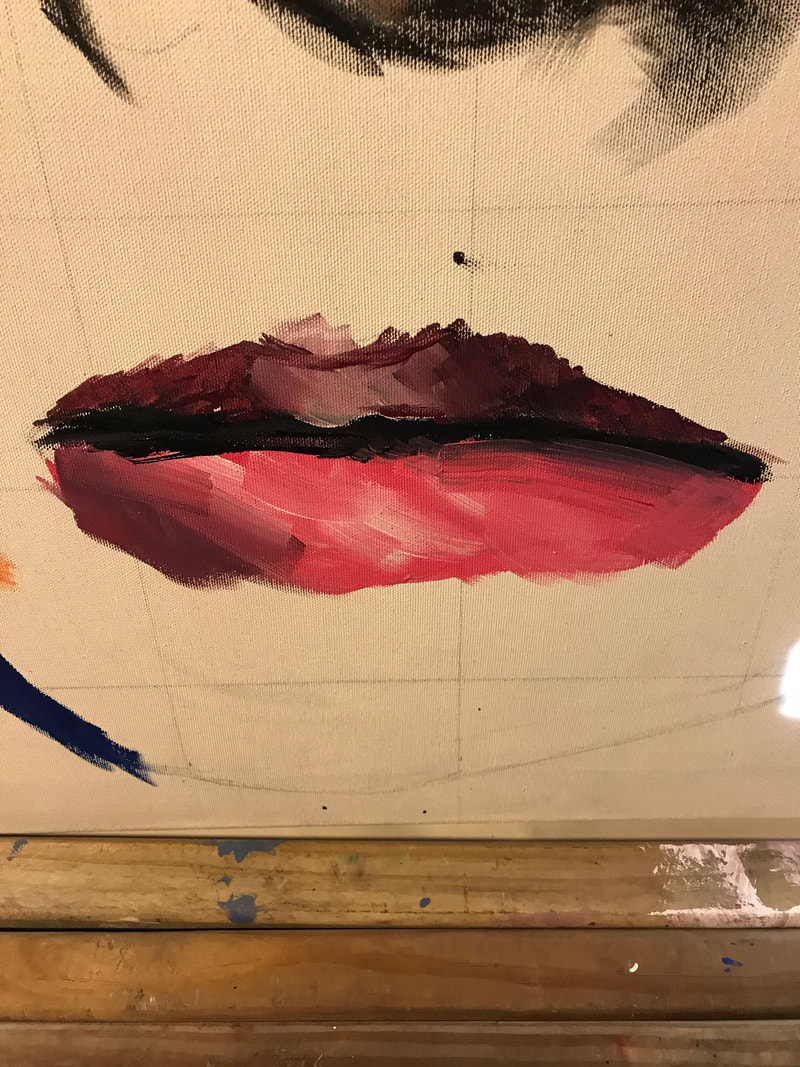
I next moved on to the lips, for the lips I used, white, red, blue and black. for the bottom half of the lips I mixed red with red to create pink then with diagonal brush strokes the technique I used to add the hues. I also added a little heaver red on the bottom left side. Next I for the up half I mixed blue, red and white to get the nice violet hue. With that I used diagonal brush strokes to create the flow of color n the lips. Lastly I with black I made a horizontal line across the center of the lips. |
|
|
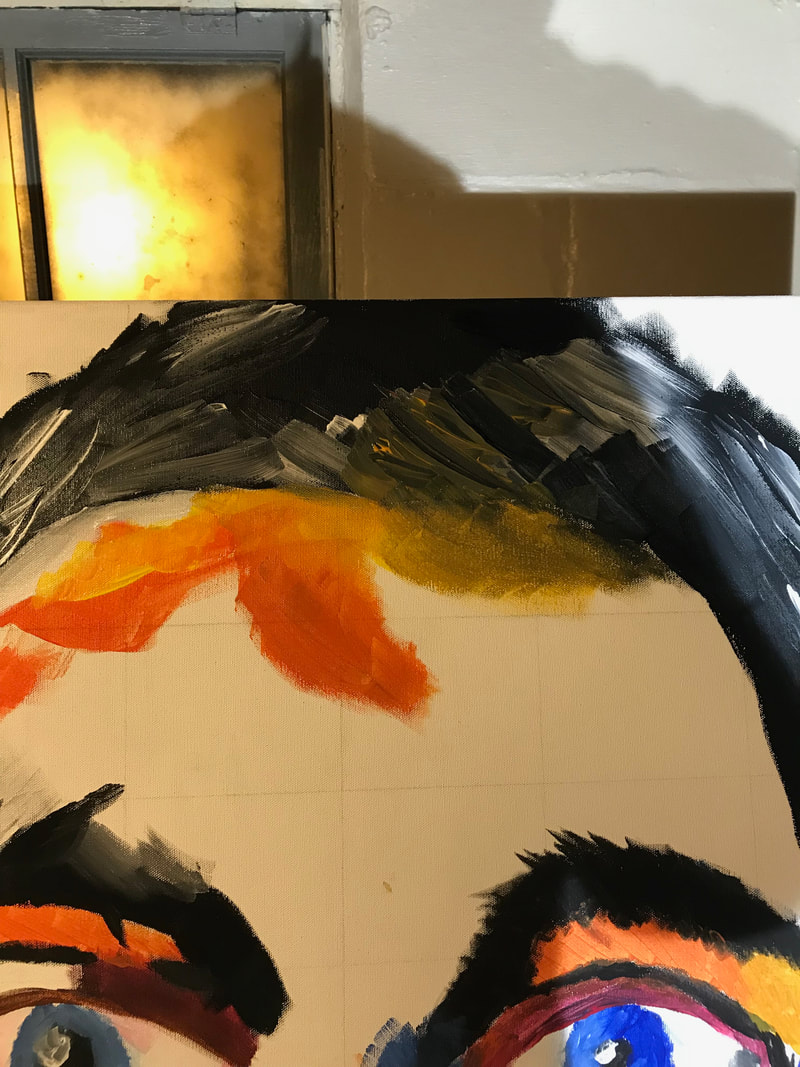
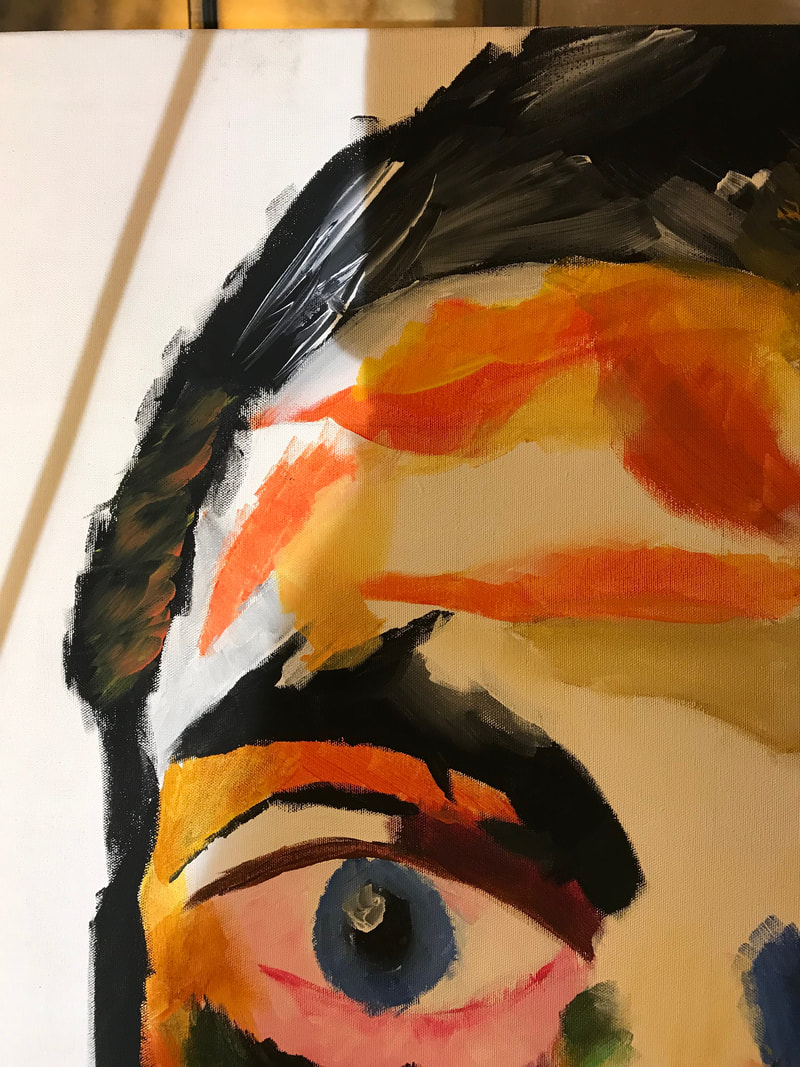
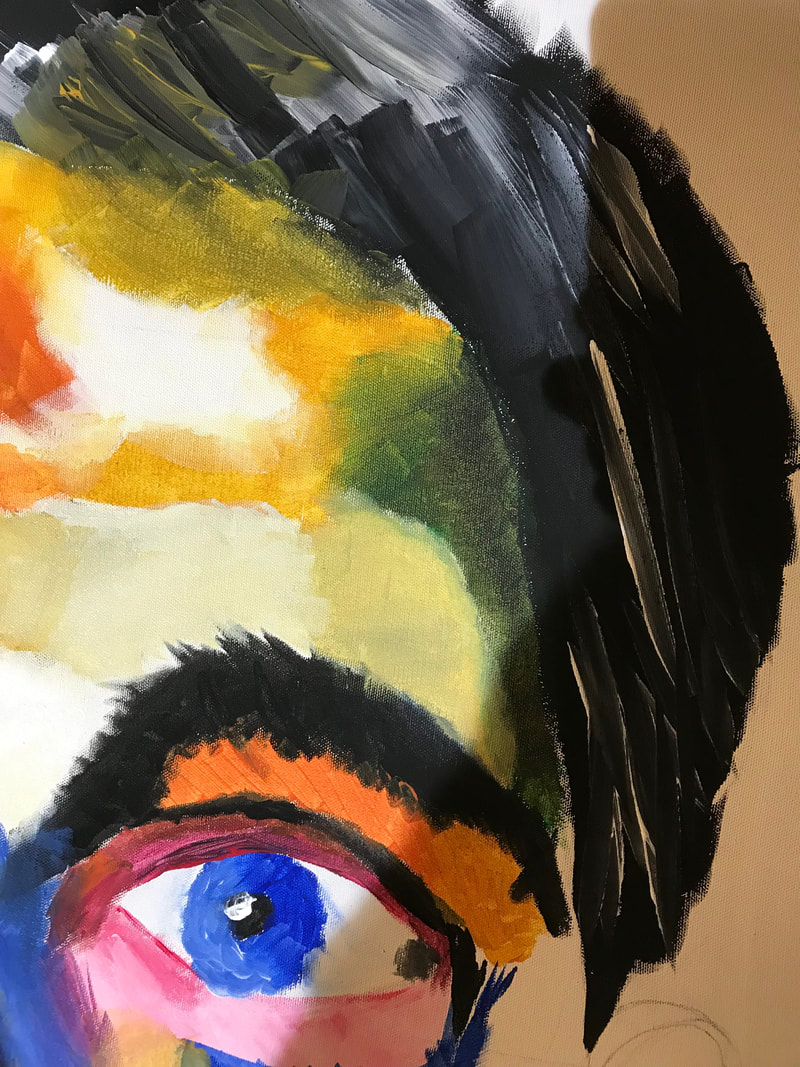
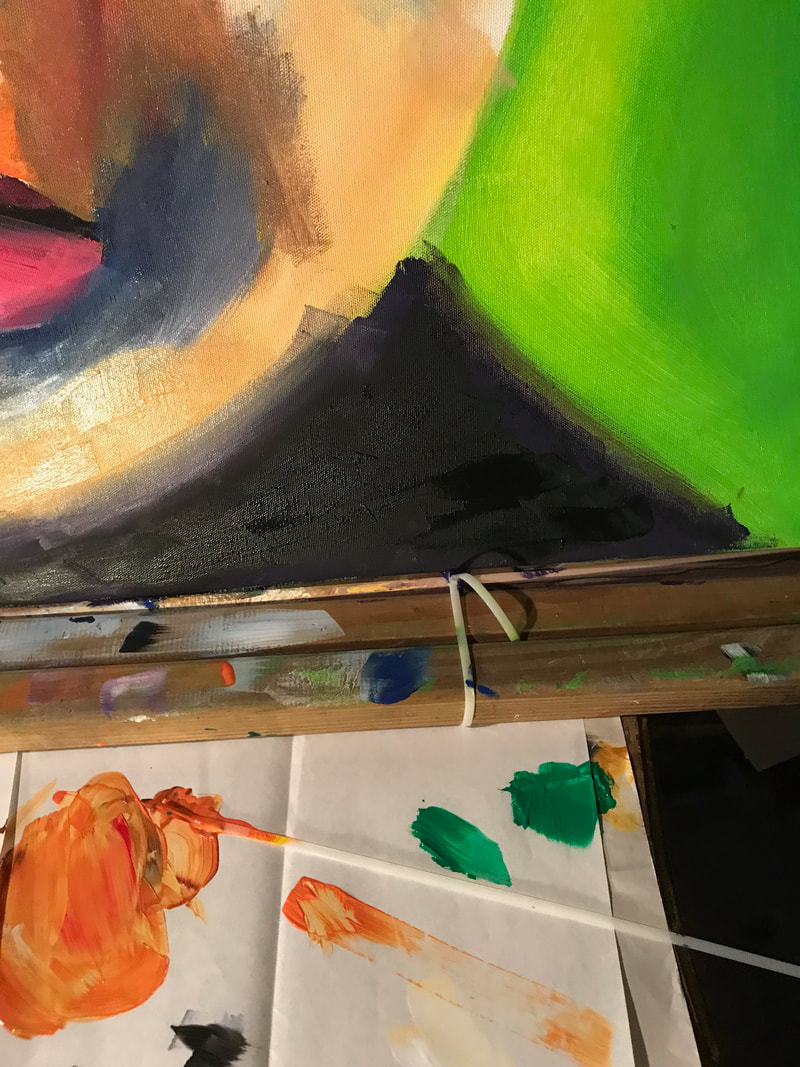
After the lips I moved to add color on the upper forehead area. I used yellow, orange,white, black, green, and brown. I first started with orange brush strokes, then added yellow strokes over lapin some of the orange strokes. Then I added light white strokes, followed by grey strokes. Lastly adding that swamp green on the right. I blended the colors with just a wet brush giving it a nice finish.
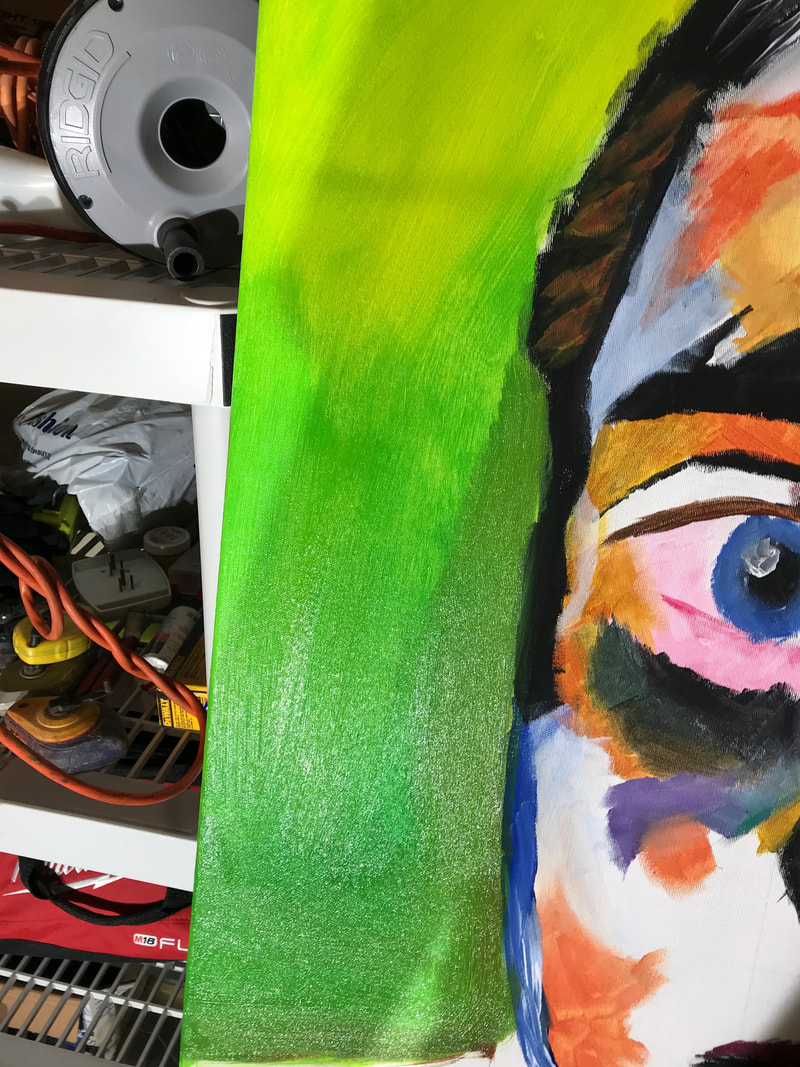
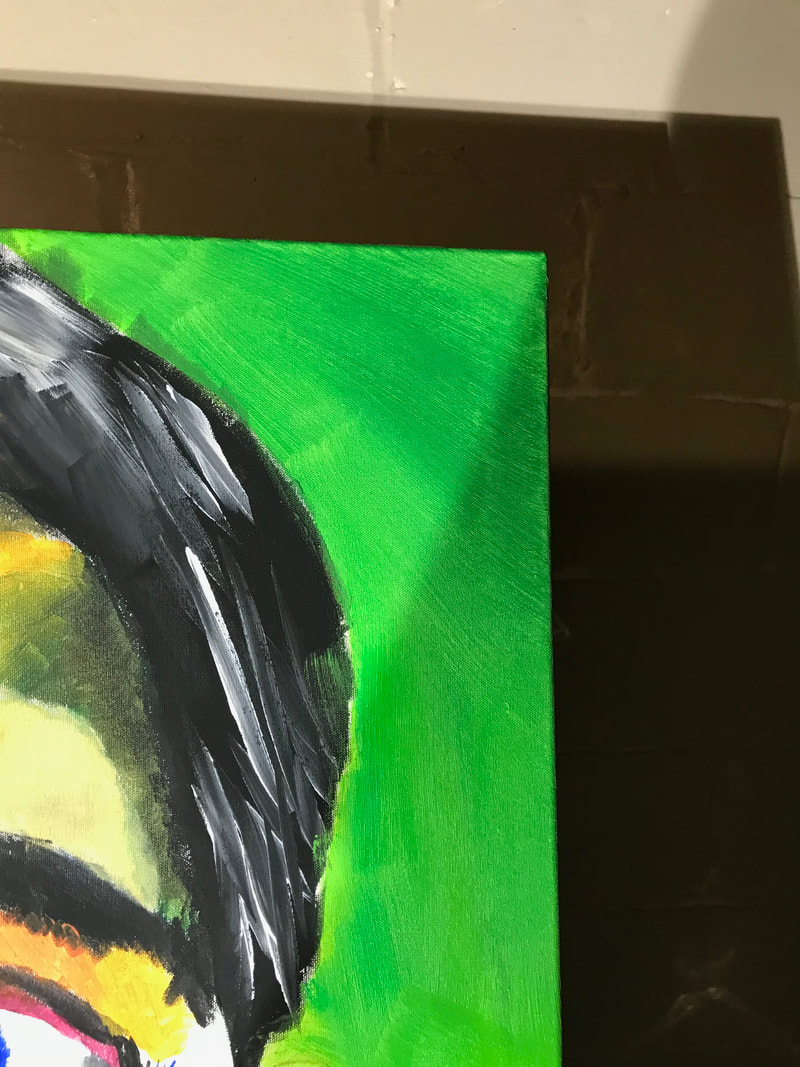
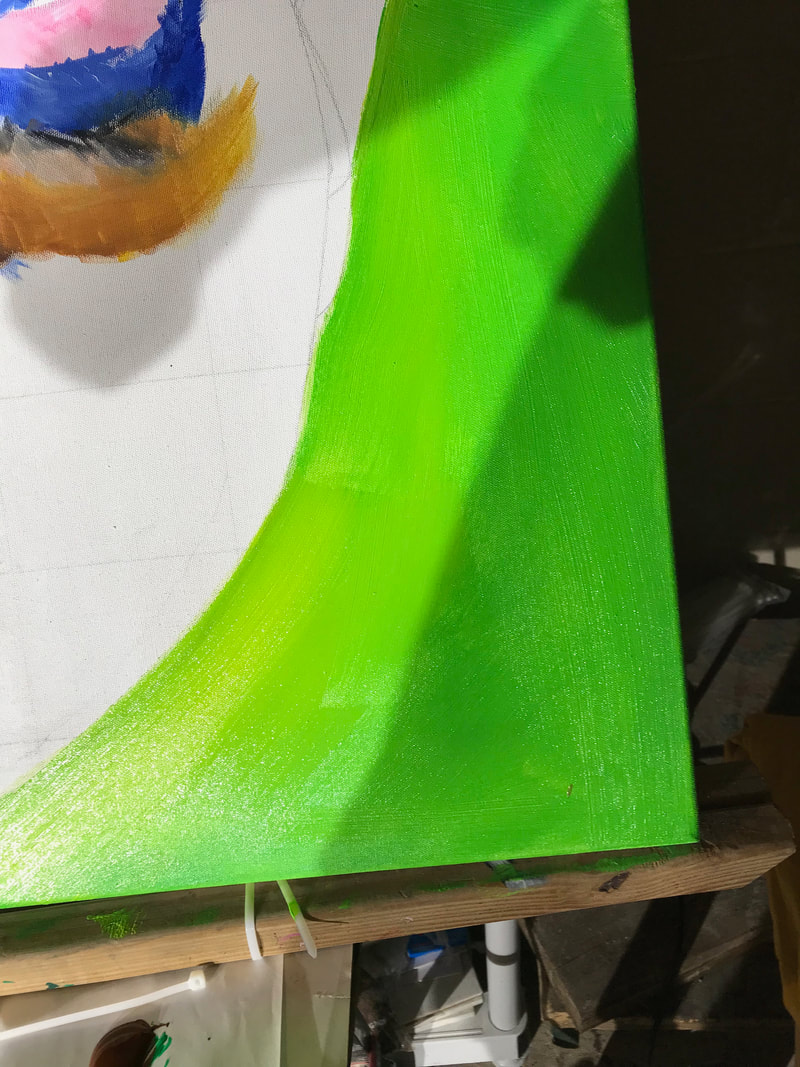
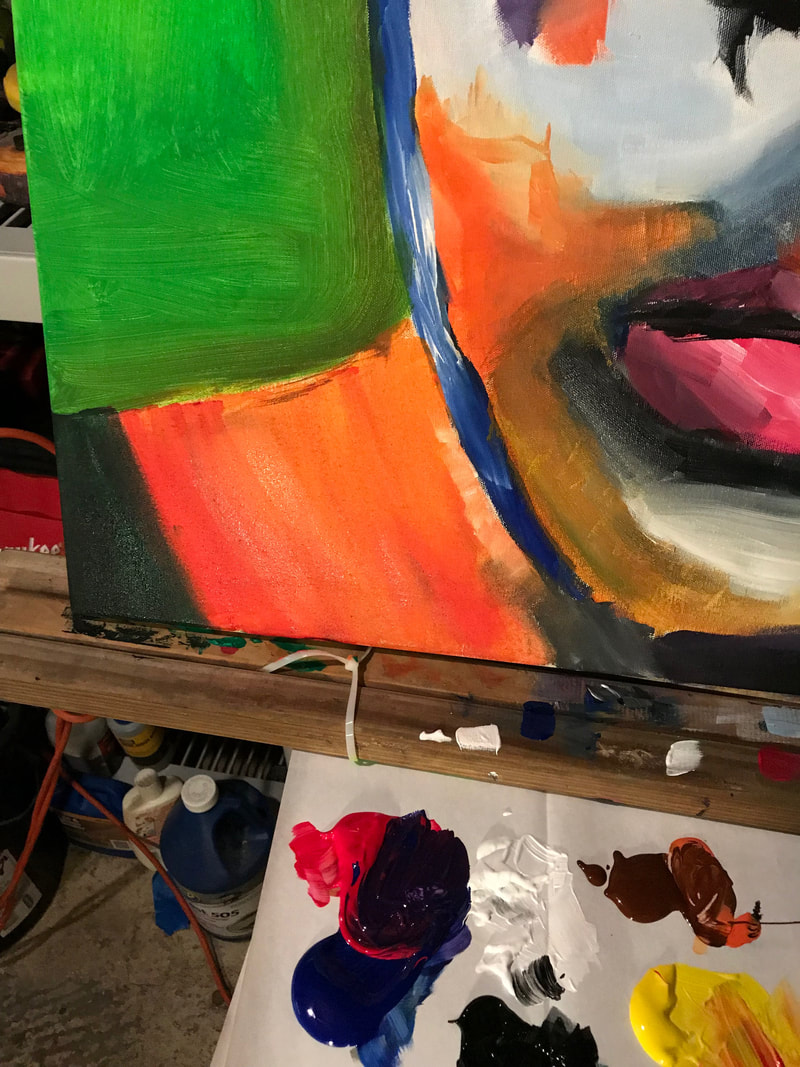
After finishing most of the face I then moved on to add the background of the piece. For that I blended yellow and green, making green-yellow. I started painting on the left side going heaver on the yellow for the upper edge. Then for the bottom part I went heaver on the green, with adding little brown. Lastly for the right side I went heaver on the green adding some brown to it. After finishing background of my piece, I then began finishing the rest of my face, which would be the lower half. I first started with the right side of my face, using the hues, yellow, red, brown, white, black, and blue. |

|
|
I started with brush strokes of white mixed in with a little yellow. Then added brush strokes of blue, black, white, and orange for the lower bottom of the lips. I once again with a wet clean brush I went over gently over the wet paint to get the nice finish blend.
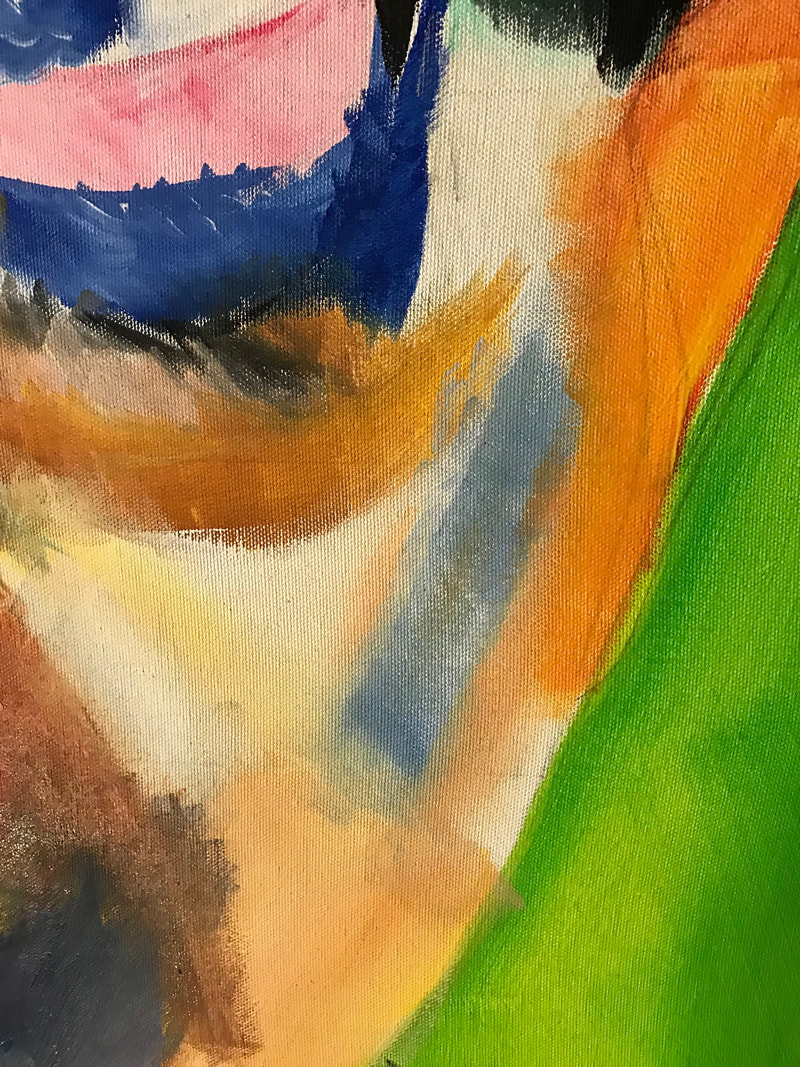
Lastly all I needed was the neck area of my face. For that I used red, orange, yellow, brown and black for the left side of the neck. Starting off with heavy orange and red strokes, to then the edge with black mixed with brown strokes. For the right side I blended red and blue to get violet. Firstly adding a coat of violet, then to topping it with black. |
Experimentation
In my experiments throughout creating my self portrait, I experimented with different colors. I mixed many colors together to create new colors and to try to replicate similar colors that my inspirations had. When I painted my self portrait it was a somewhat create as you go, meaning I created new colors as I painted not really as starting colors.
|
|
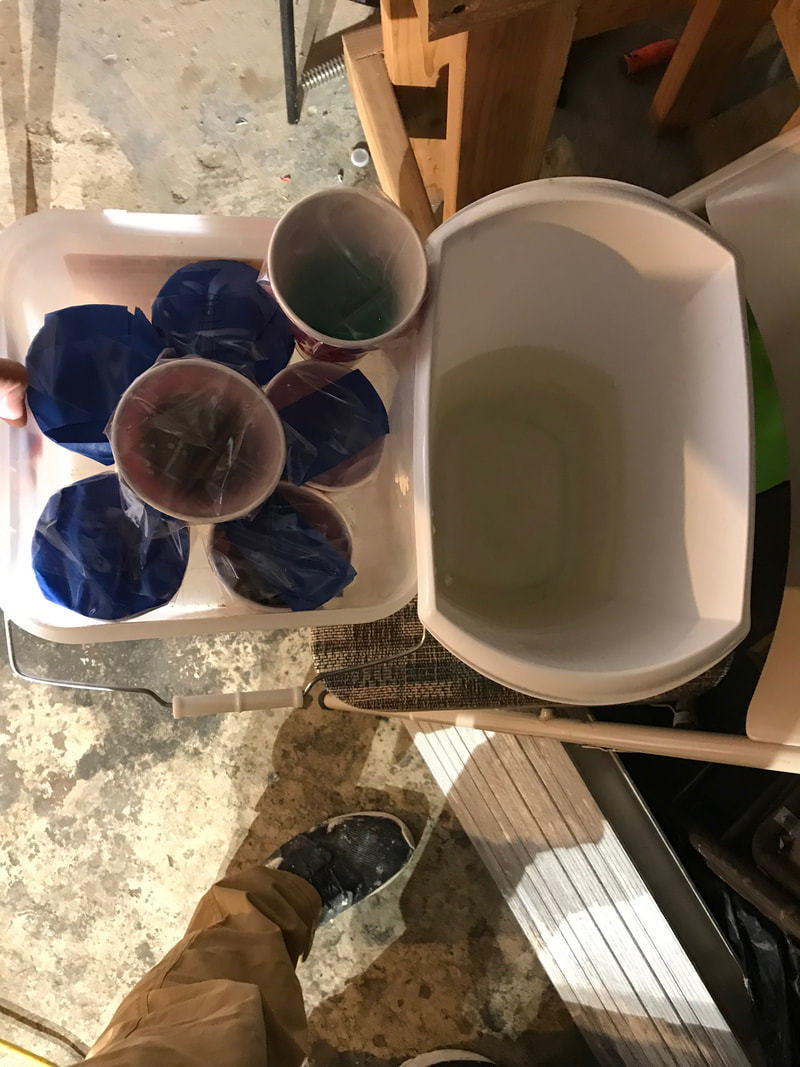
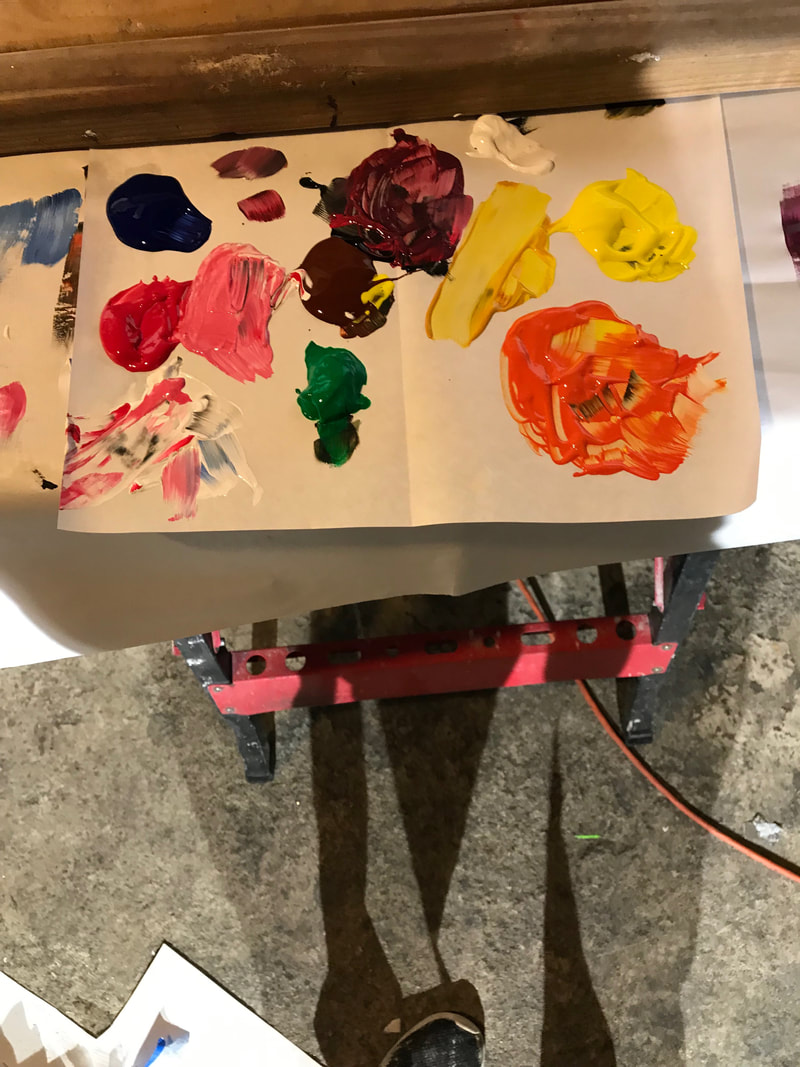
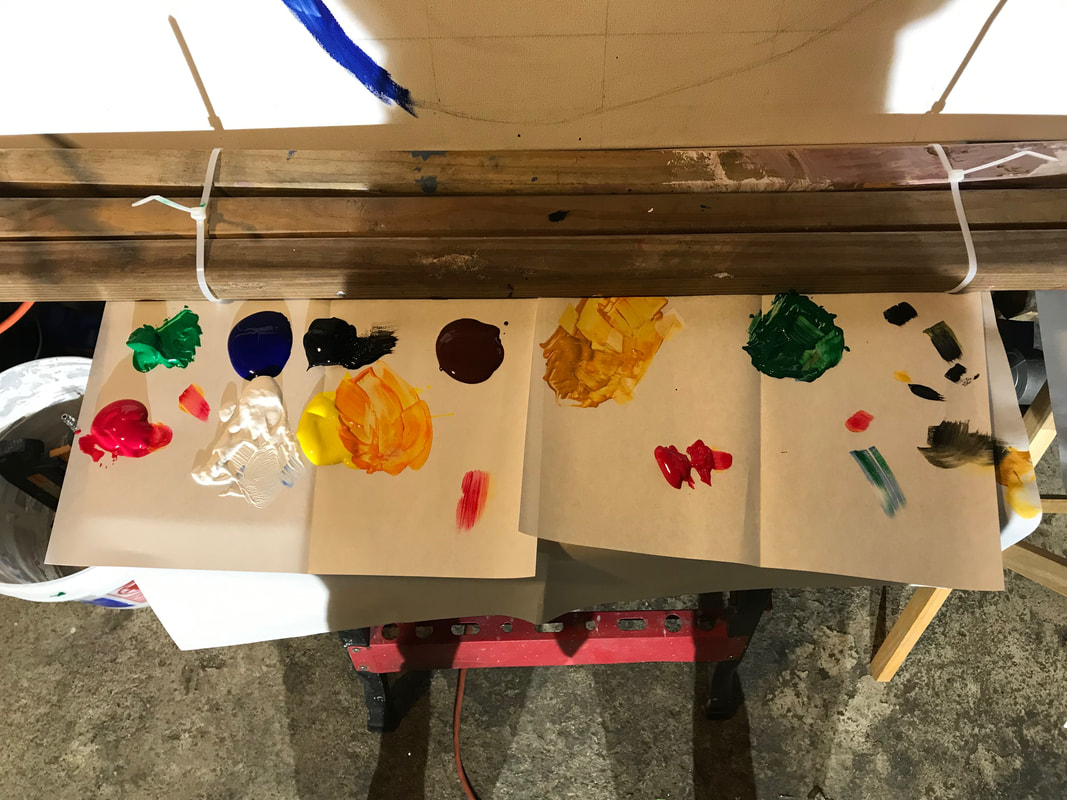
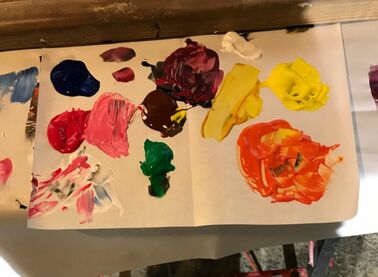
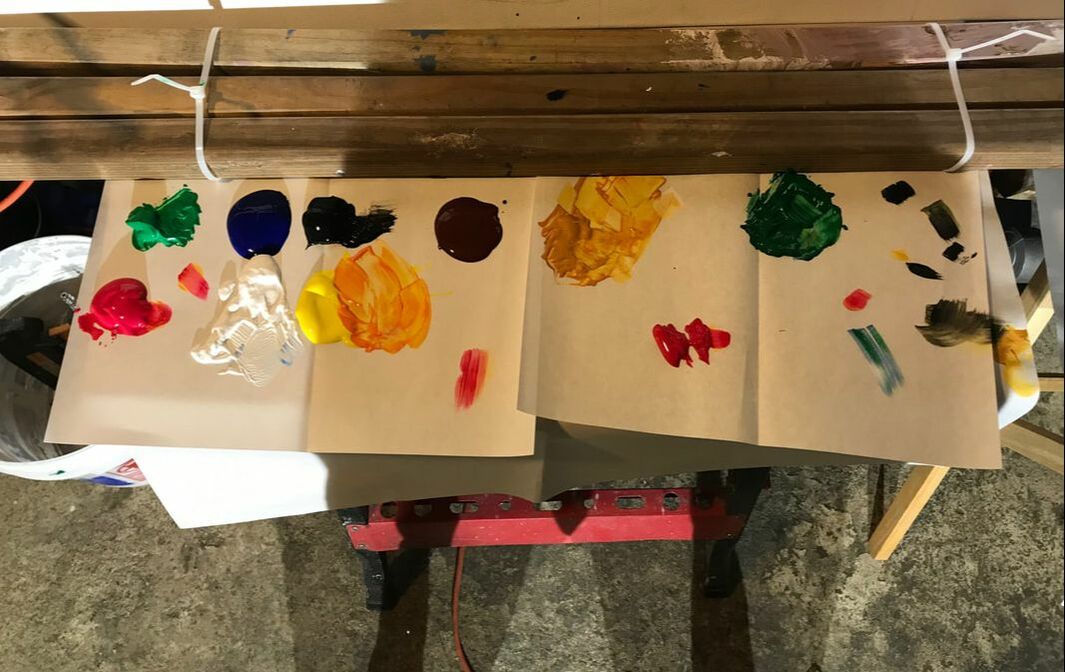
Here is my mess that I worked with. The technique used was a create as you paint, which is why the paint in these picture is everywhere. I used mainly primary colors and if I needed to crate a color I mixed my primary colors and created them that way. Overall this is how my station looked as I painted. Mixing as I went really helped me experiment with new colors.
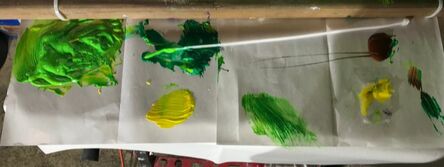
Here are the colors that I experimented when creating my background. I mixed yellow and green to get yellow-green. I also experimented with adding brown to get that swampy green color.
|
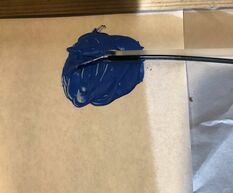
Here is just a blue that I experimented with. Blue and white were mixed to create this blue hue.
|
Critique
There are many similarities and differences between my self portrait and both of my inspiration, "Self Portrait" by Ernst Ludwig Kirchner and "Fränzi in front of Carved Chair," also by Kirchner. Within my inspirations and my self portrait there are similarity's and differences in formal elements such as color, line and shape.
|
|
|
|
Similarity
"Self Portrait" by Ernst Ludwig Kirchner and my self portrait have similar use of color. Both uses similar greens for the backgrounds, similar uses of reds and orange within the face. Another similarity would be that They are positioned in a similar stance. Positioned in a series manner looking head. |
Differences
A difference would be technique in brush strokes. My pieace is more similars to "Fränzi in front of Carved Chair." Kirchner in "Self Portrait" he uses more swift and blended strokes. |
Similarity
A similarity in my piece and in "Fränzi in front of Carved Chair," would be that they both have similar use in simple line to create a simple shape. Another similarity would be the that both use similar brush strokes, very simple but full of color and portrays what needs to portrayed. |
Difference
A difference would be the structure and positioning of the figures within the pieces. Mine is a self portrait with nothing going on in the background very straight forwarded. In "Fränzi in front of Carved Chair," Kirchner positions the figure differently and has many things going on within the background. |
Reflection
When creating my self portrait there was many challenges and struggles but I pushed through them. In the process of creating my self portrait I learned many new things through my struggles and experiments. I learned how to better blend my colors and also learned how to make different colors that fit best and were similar to my inspirations. The most challenging part of creating my self portrait was creating and mixing colors to try and replicate the colors from my inspirations. The creation of my piece was very long, longer then I expected. If I were to redo or improve my self portrait I would blend my colors better and also improve my brush strokes.Overall the process was fun and challenging.
Act Questions
1)Clearly explain how you are able to identify the cause-effect relationships between your inspiration and its effect upon your artwork.
I was inspired by two different artworks by the same artist, "Self Portrait" by Ernst Ludwig Kirchner and "Fränzi in front of Carved Chair," also by Kirchner. What I took from these inspirations were formal elements such as, color, line and shape. Both inspirations had these formal elements which influenced my work.
2)What is the overall approach the author has regarding the topic of your inspiration?
The overall approach the author has regarding my inspiration would be to express emotion, through color and simple shape, which Kirchner does in these art works.
3)What kind of generalizations and conclusions have you discovered about people, ideas, cultures, etc. while you researched your inspiration?
A generalization that I've discovered while researching my two inspirations would be the emphasize of line, tone, shape, scale, color and emphasis in which both paintings hold.
4)What was the central idea or theme around your inspiration research?
A central idea or theme around my inspiration research was the sense of expressionism through the use of variety of color and simple shape.
5)What kind of inferences did you make while reading your research?
An inference that I made while reading my research was that both of my inspirations were made to really express emotion through the use of strong color and simple shape.
